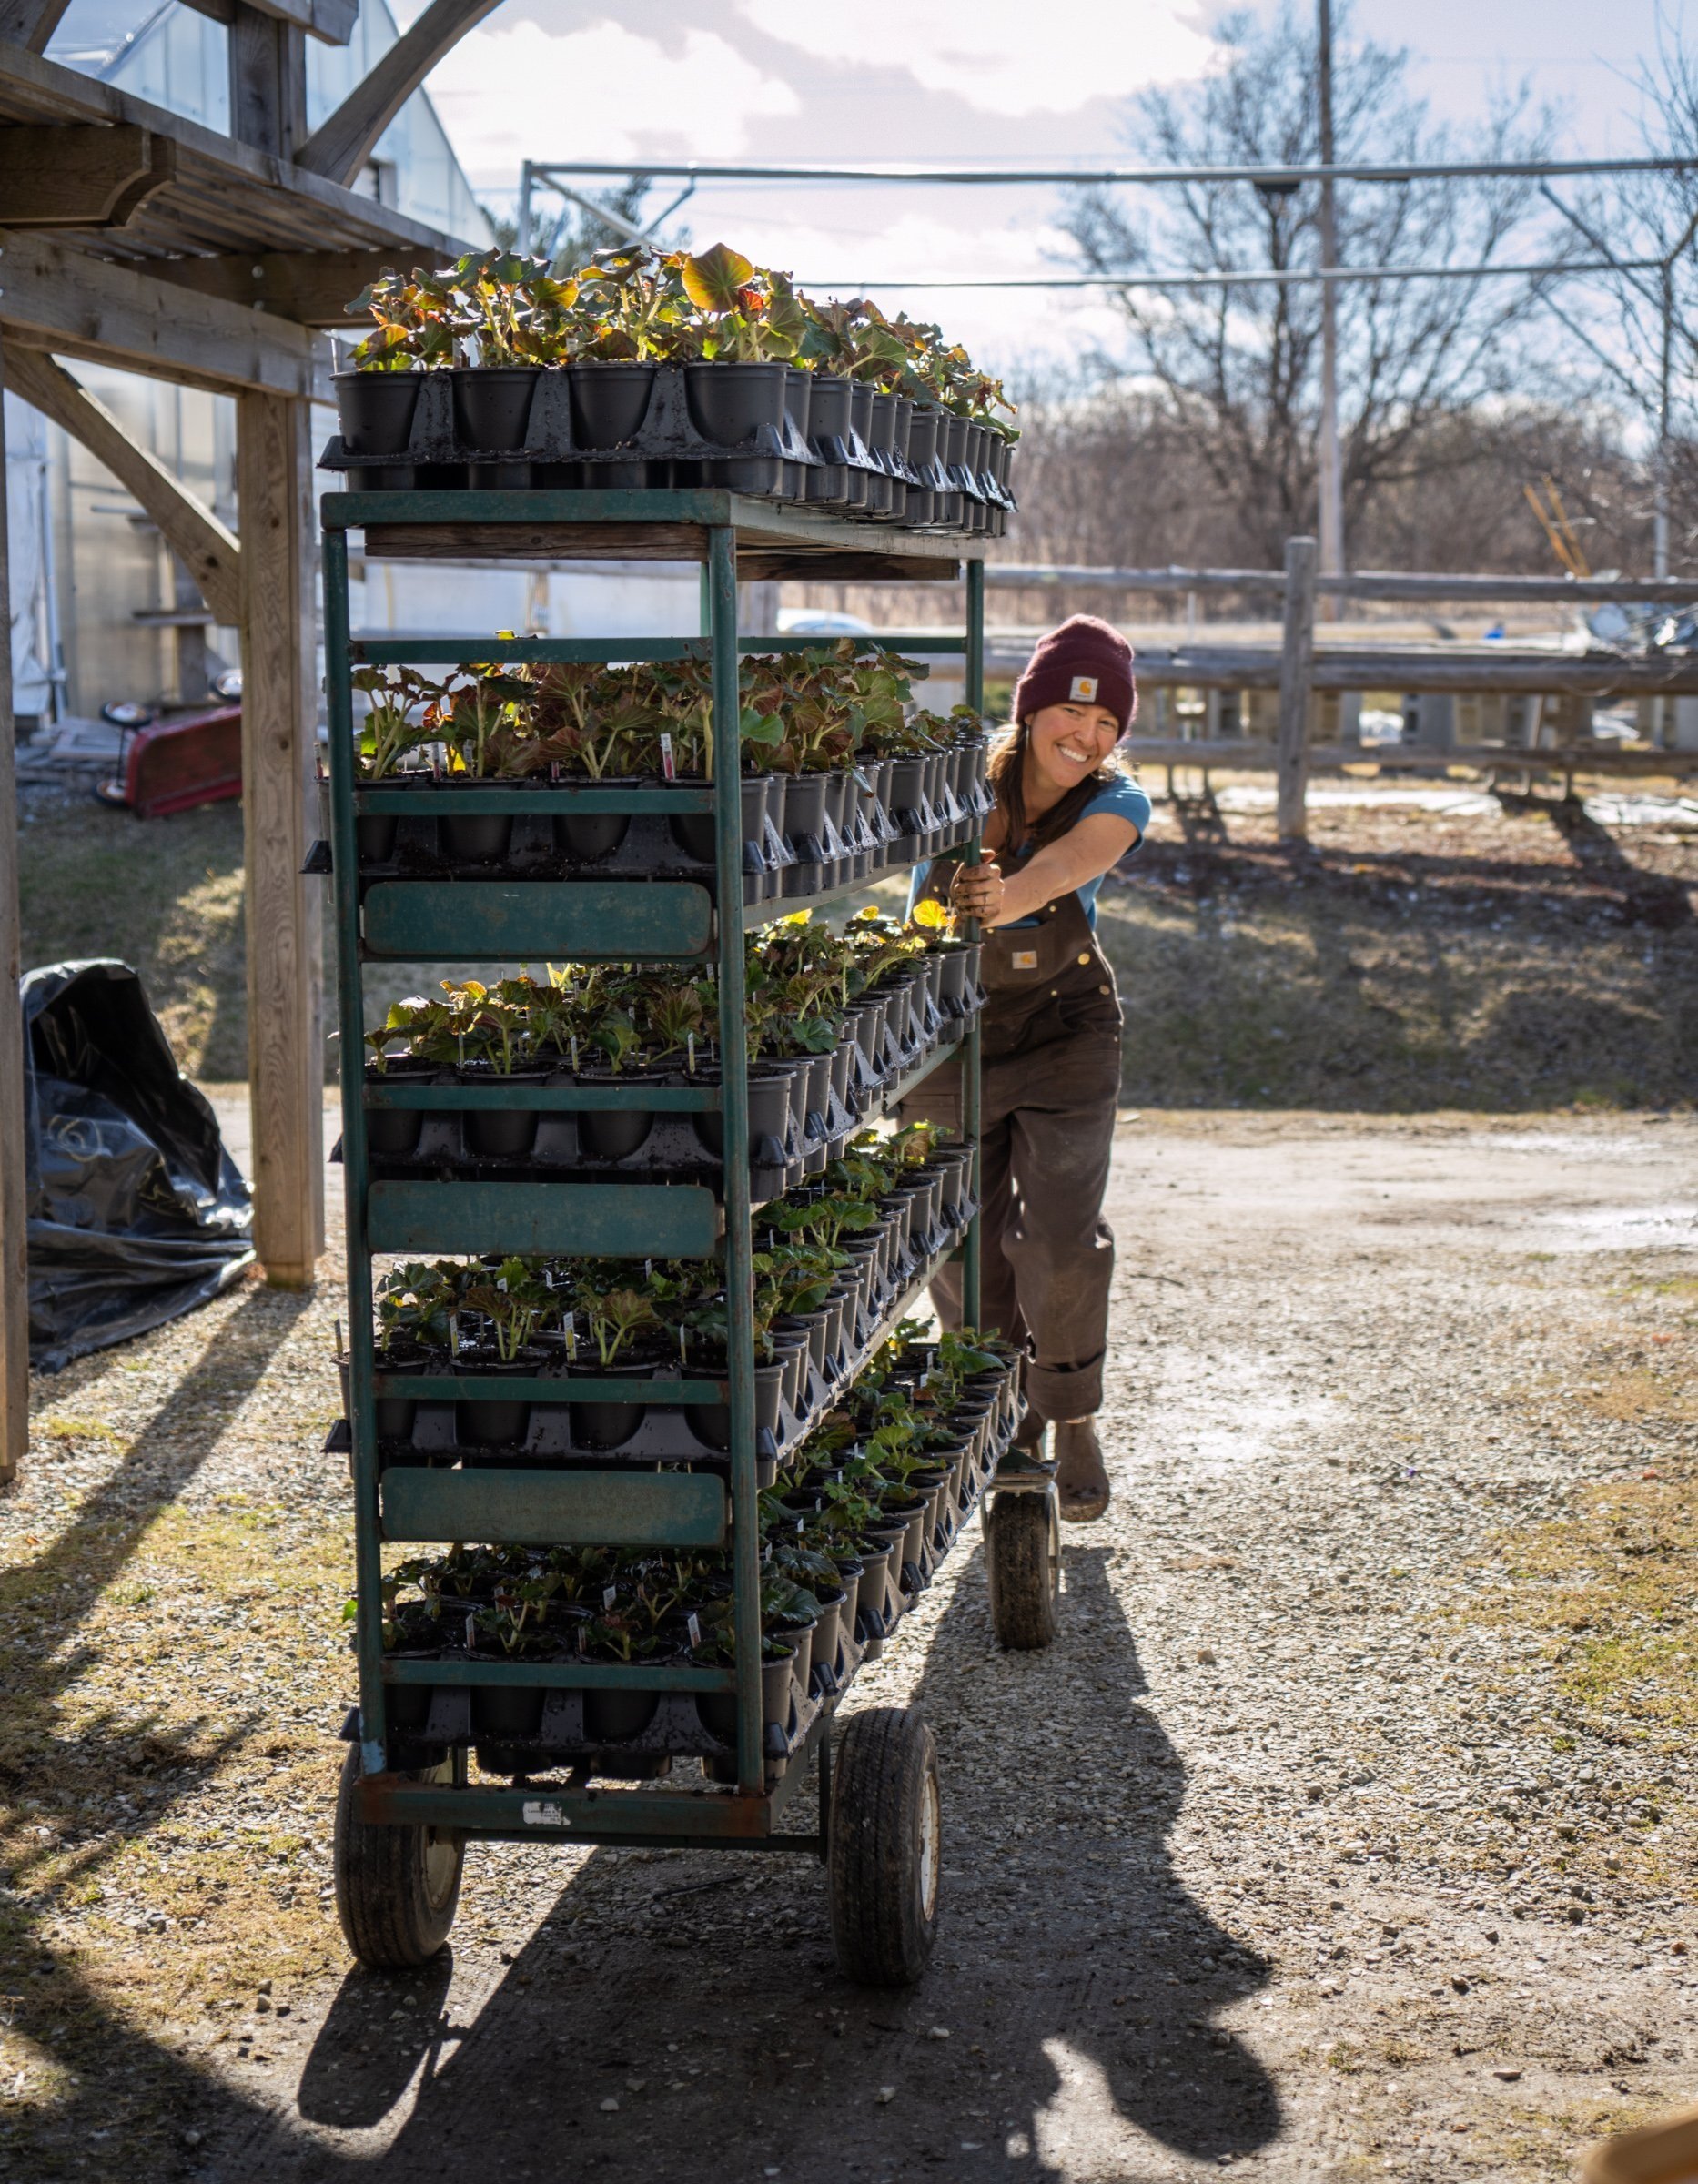
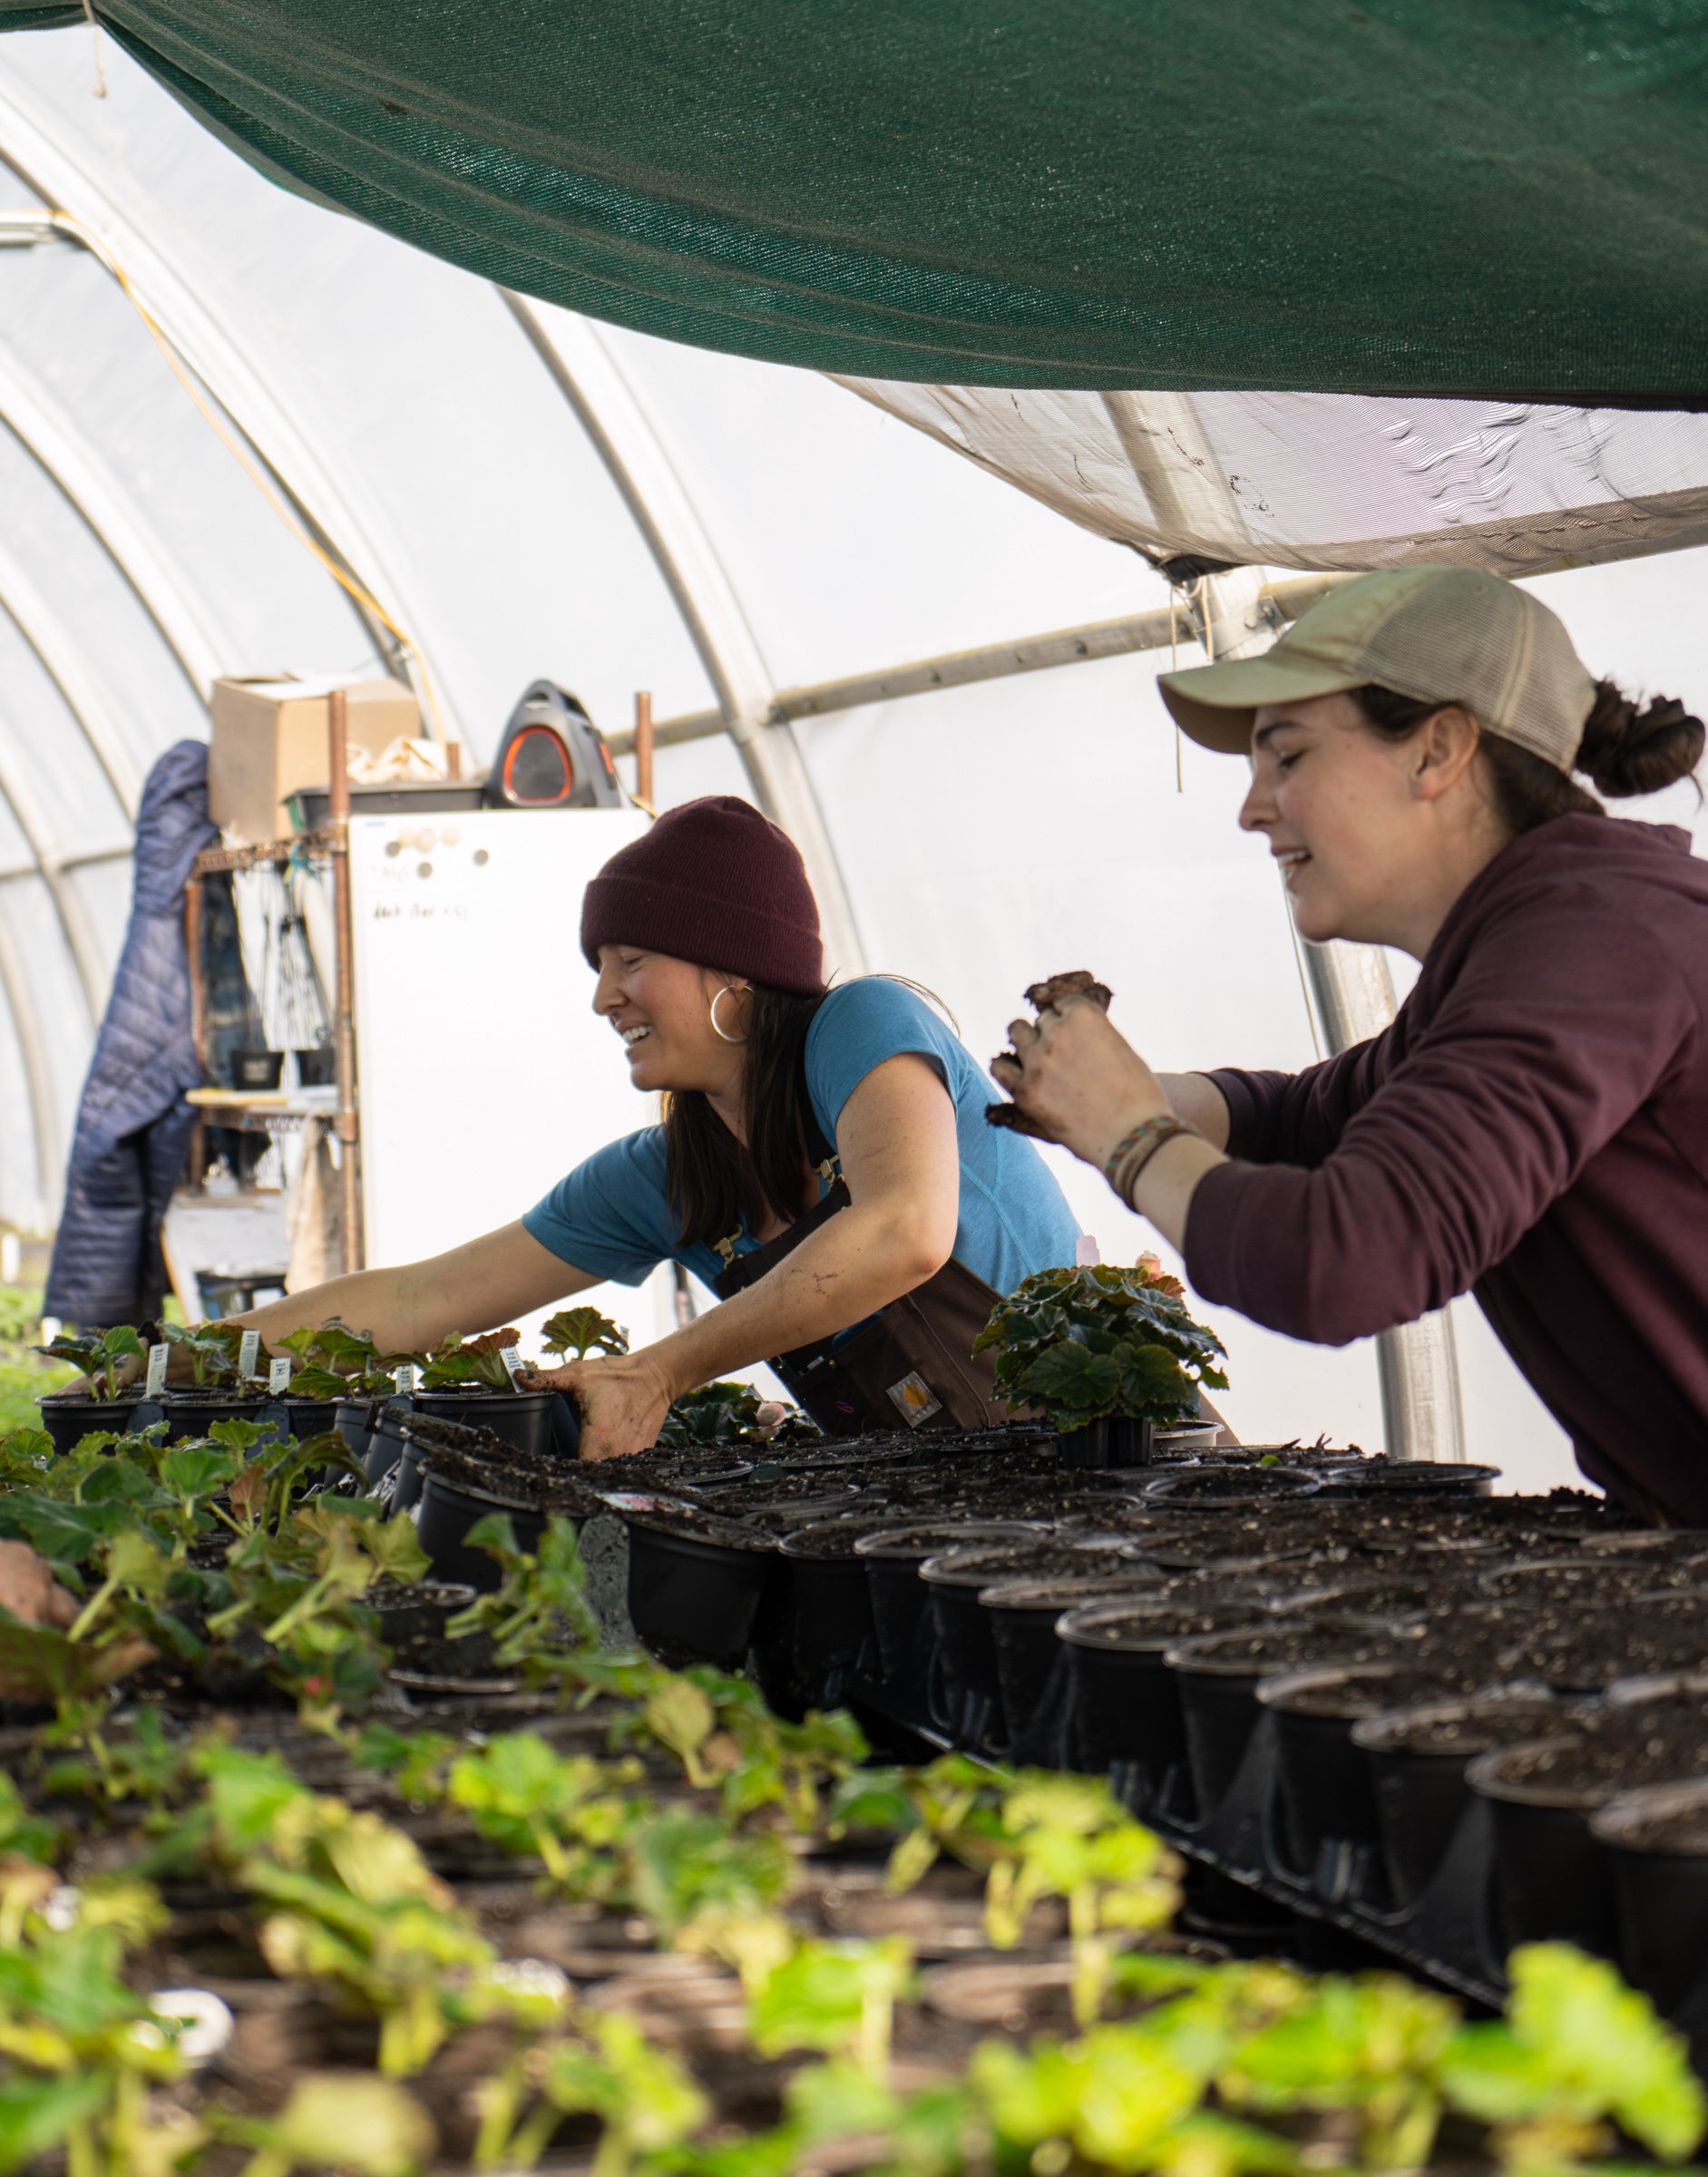
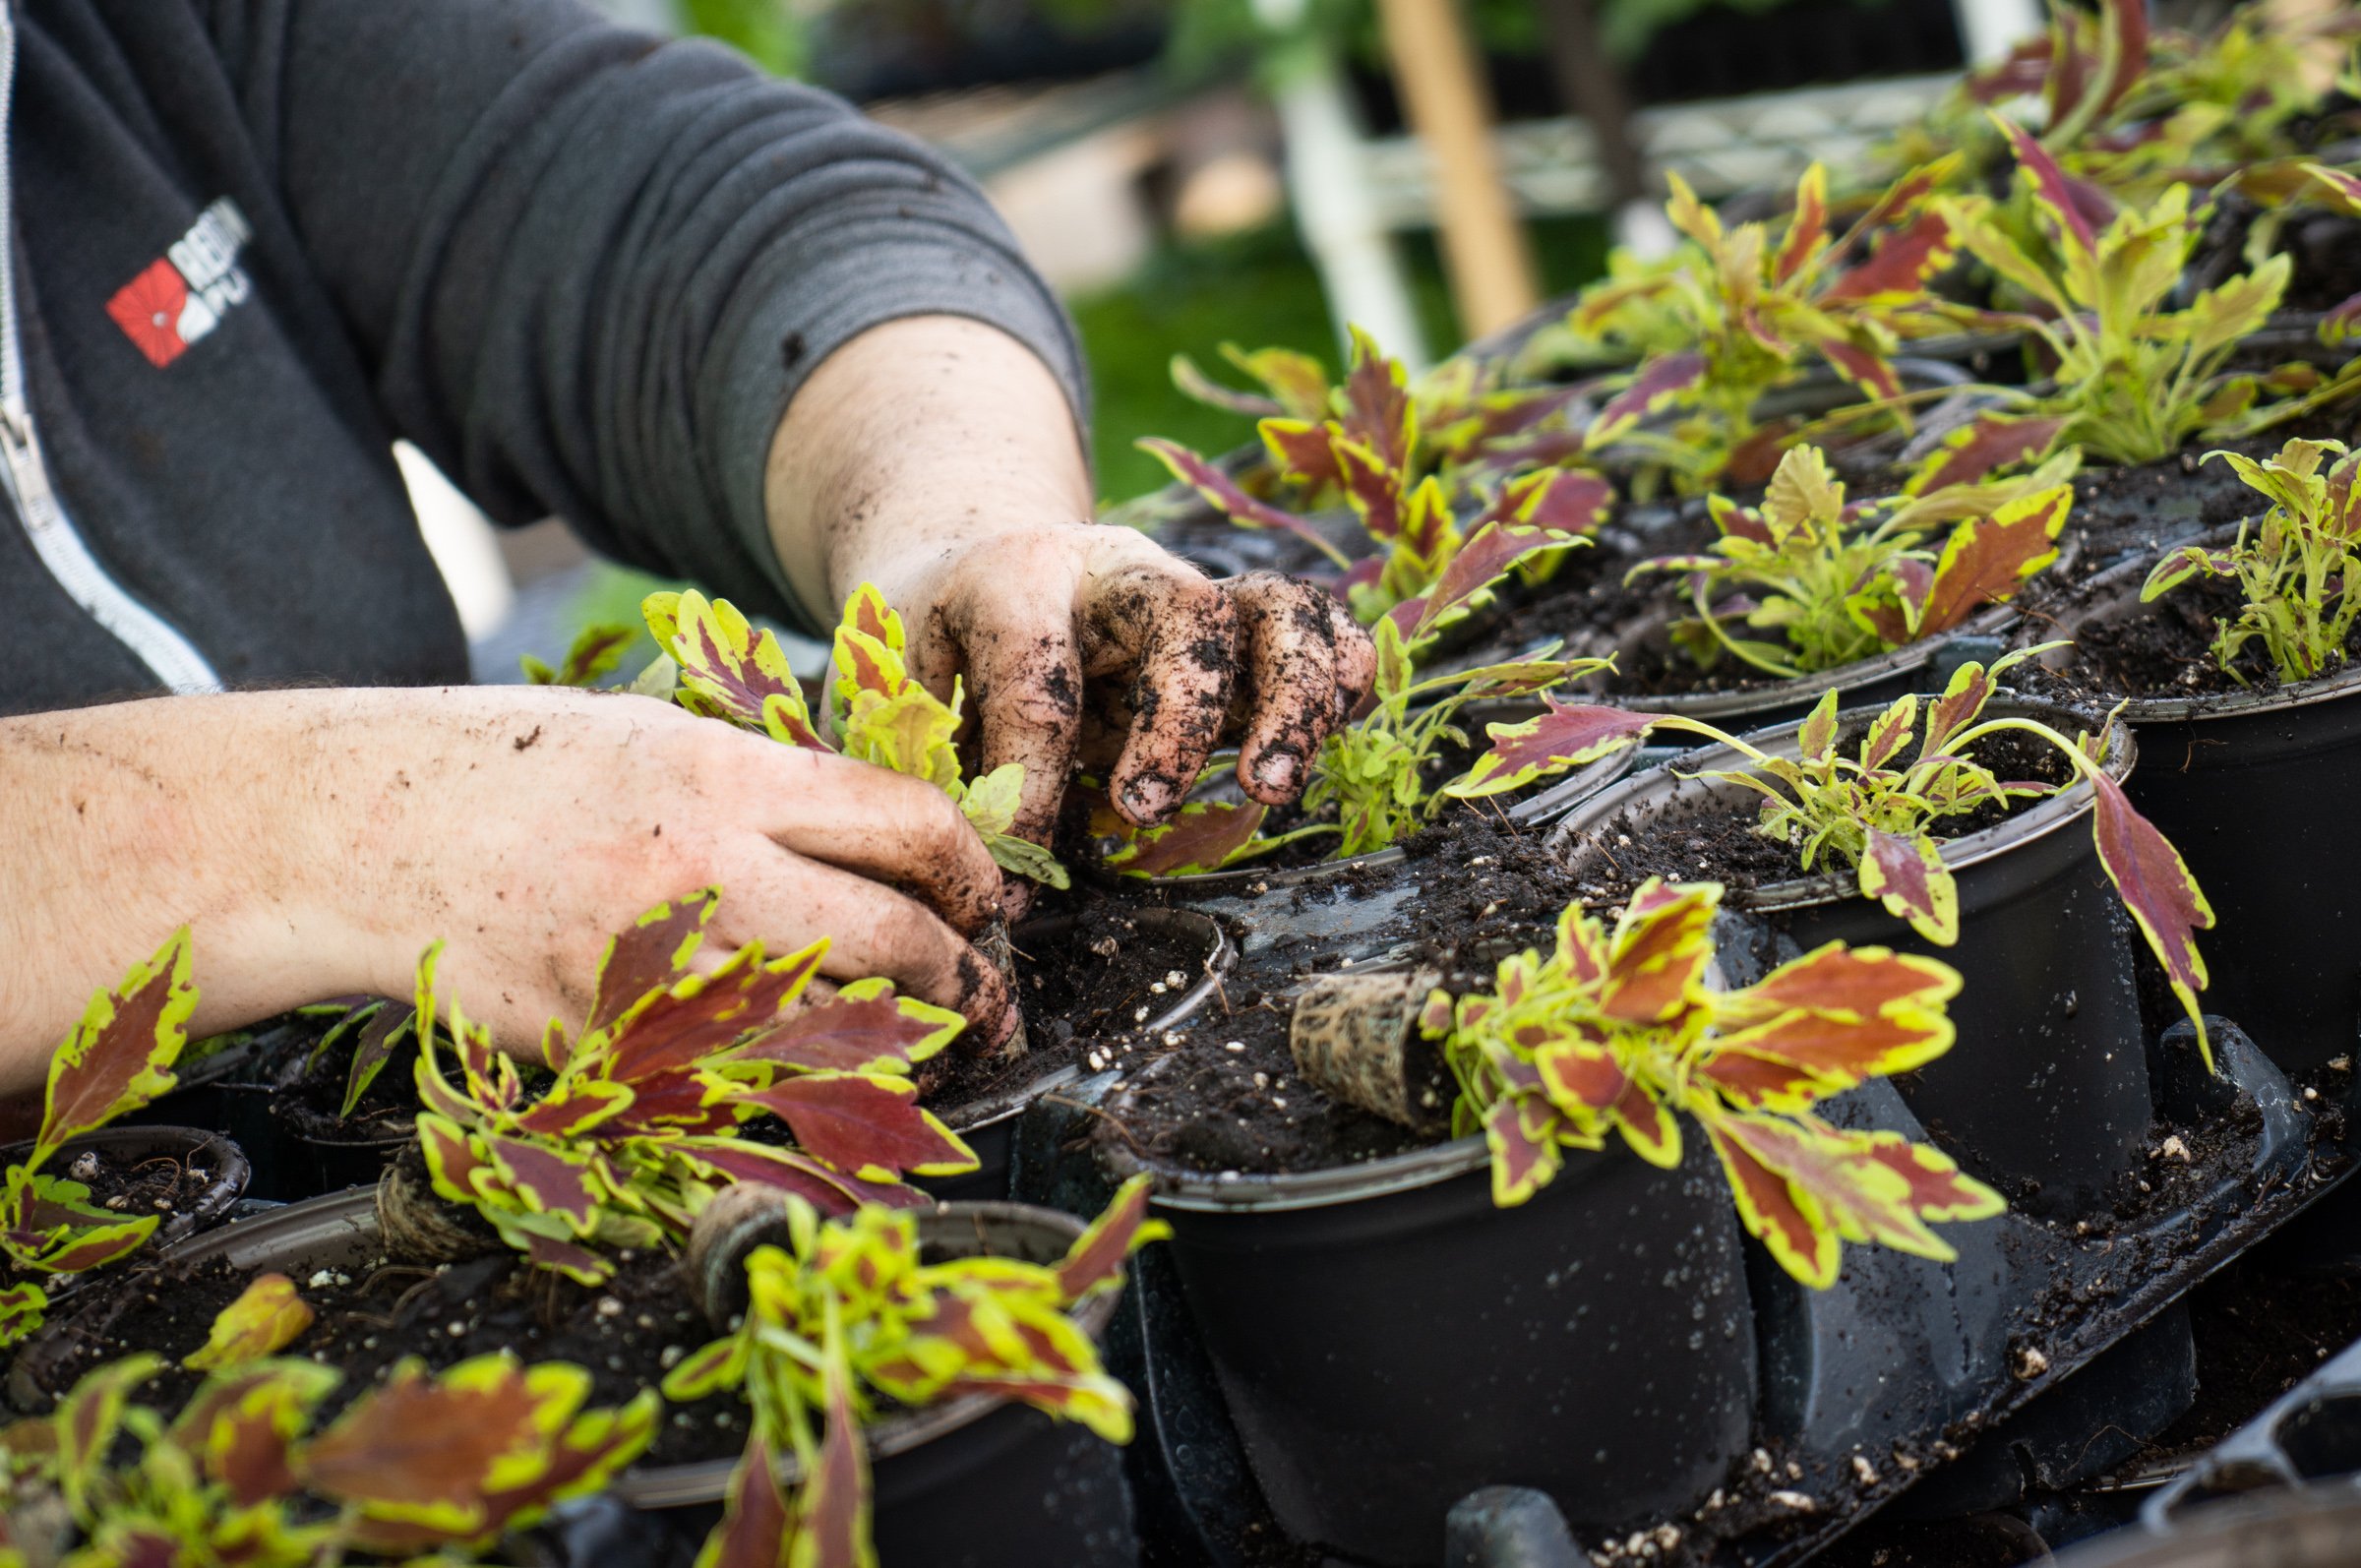
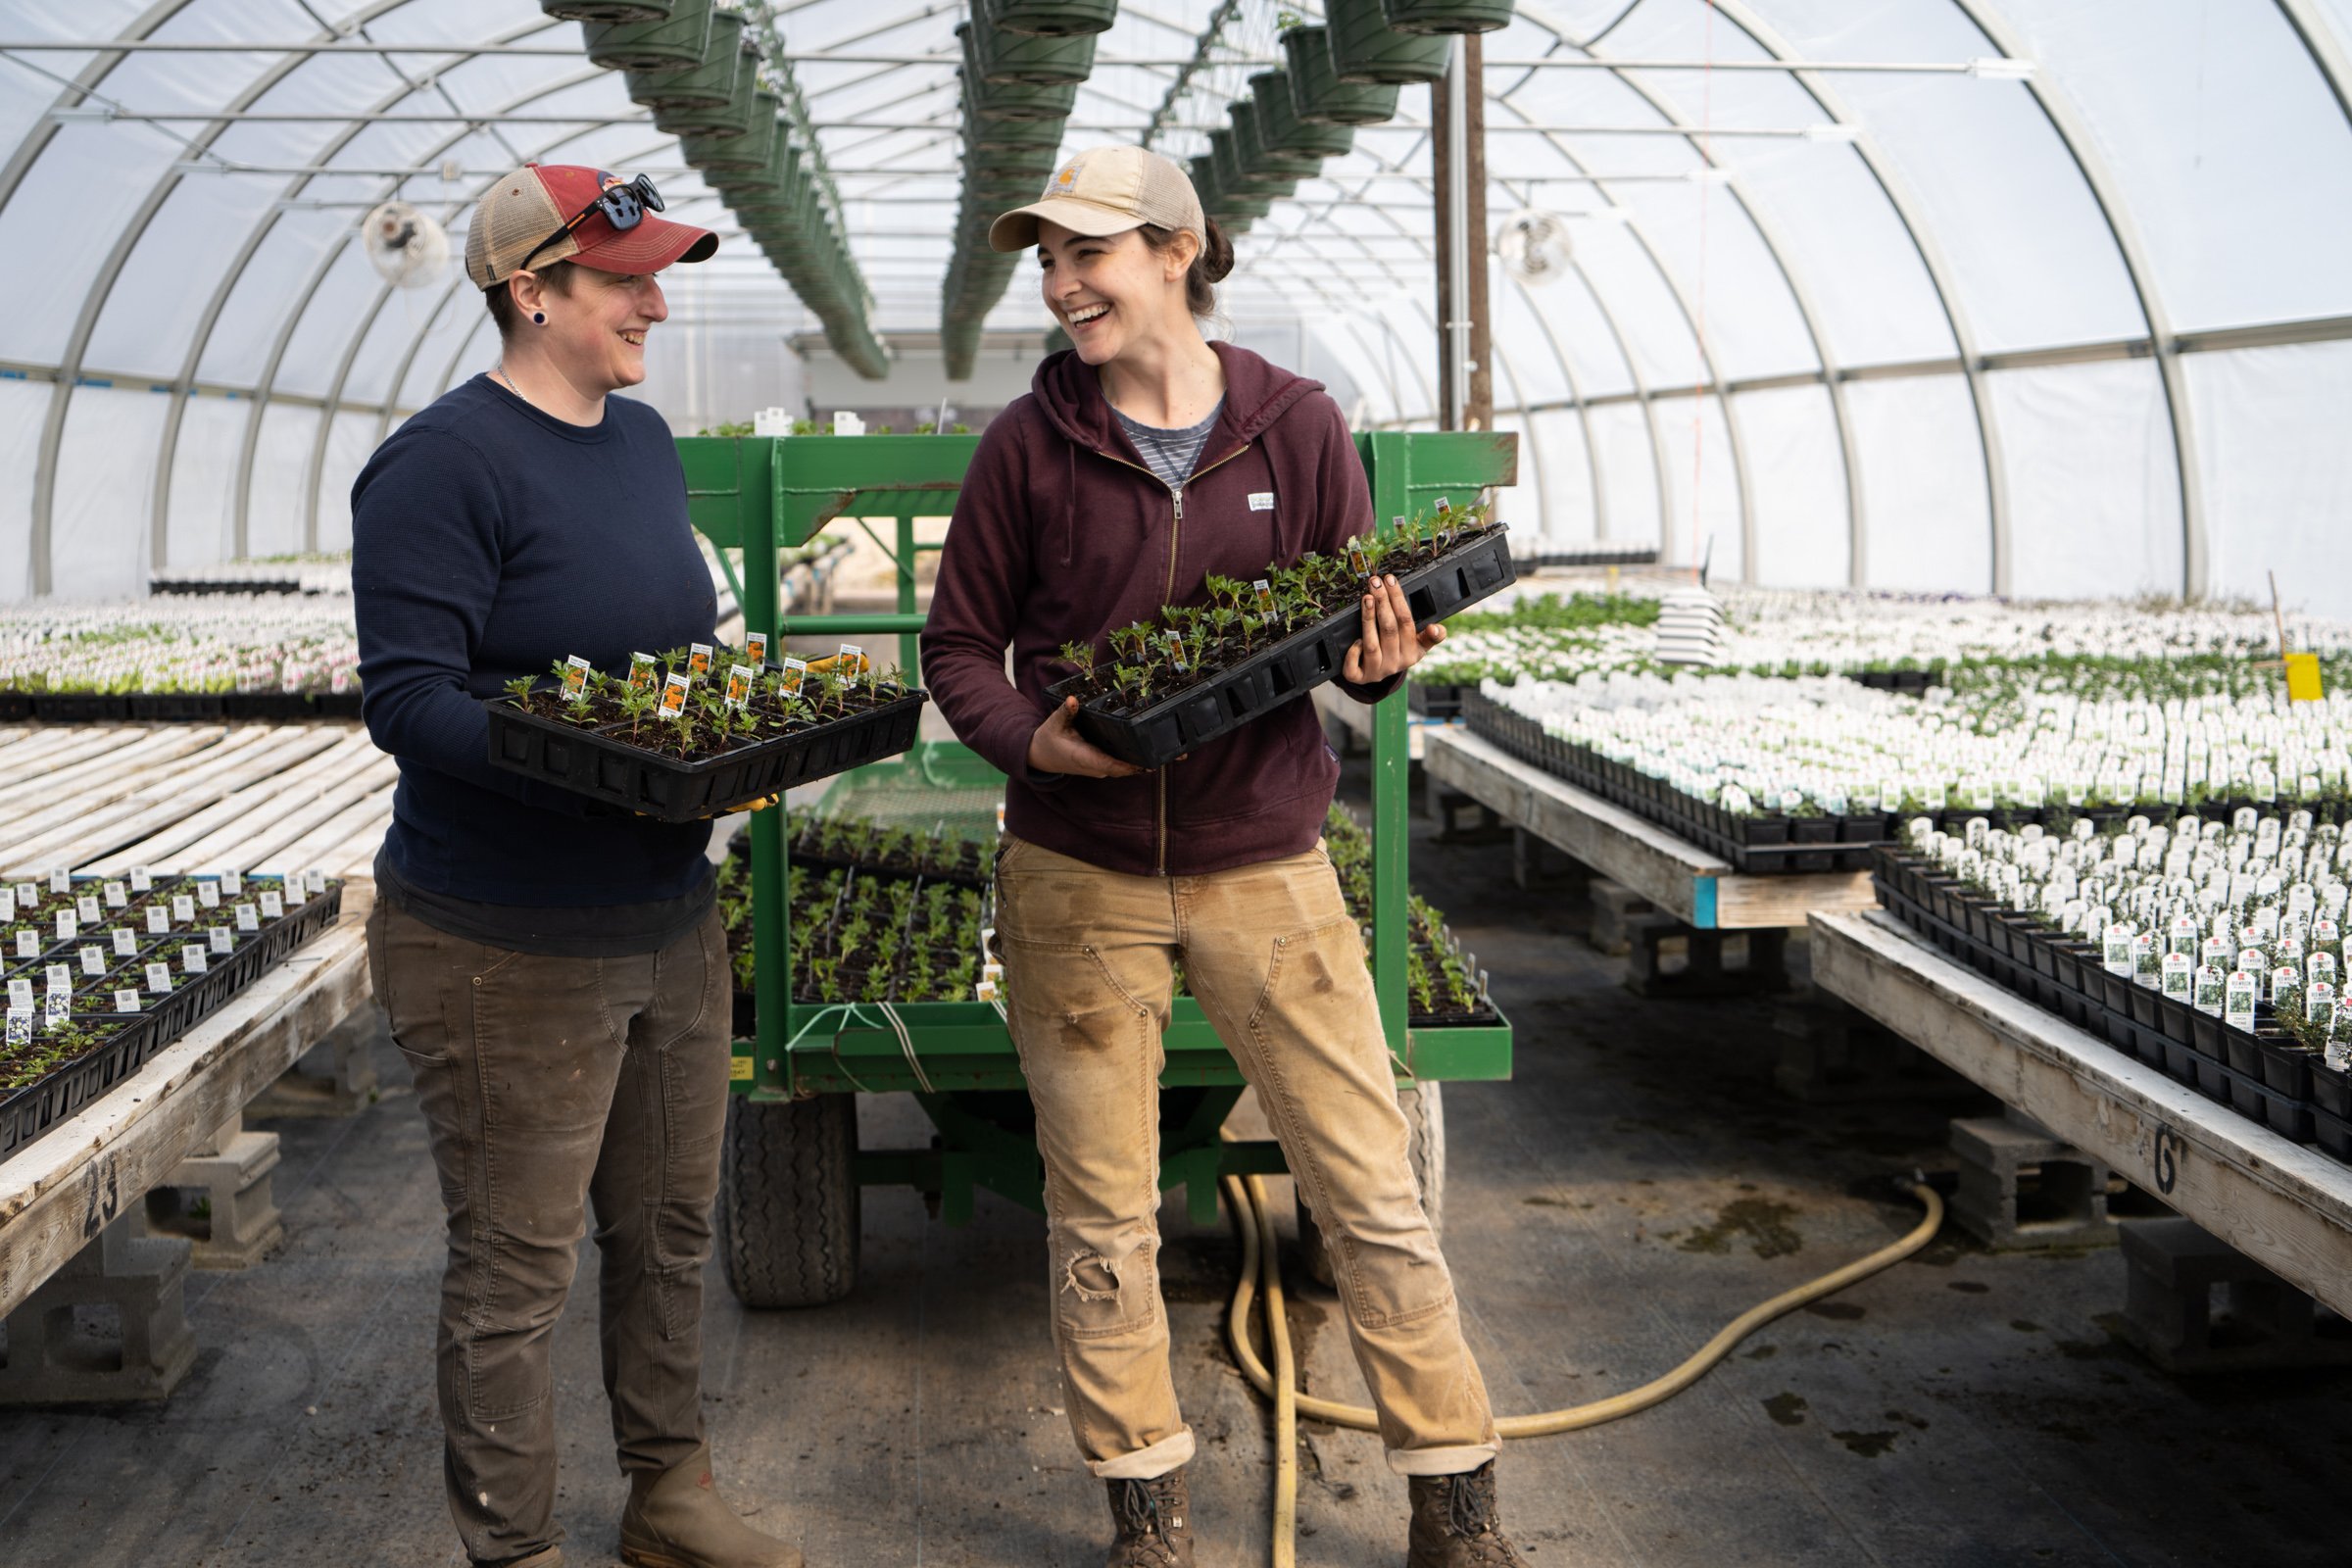
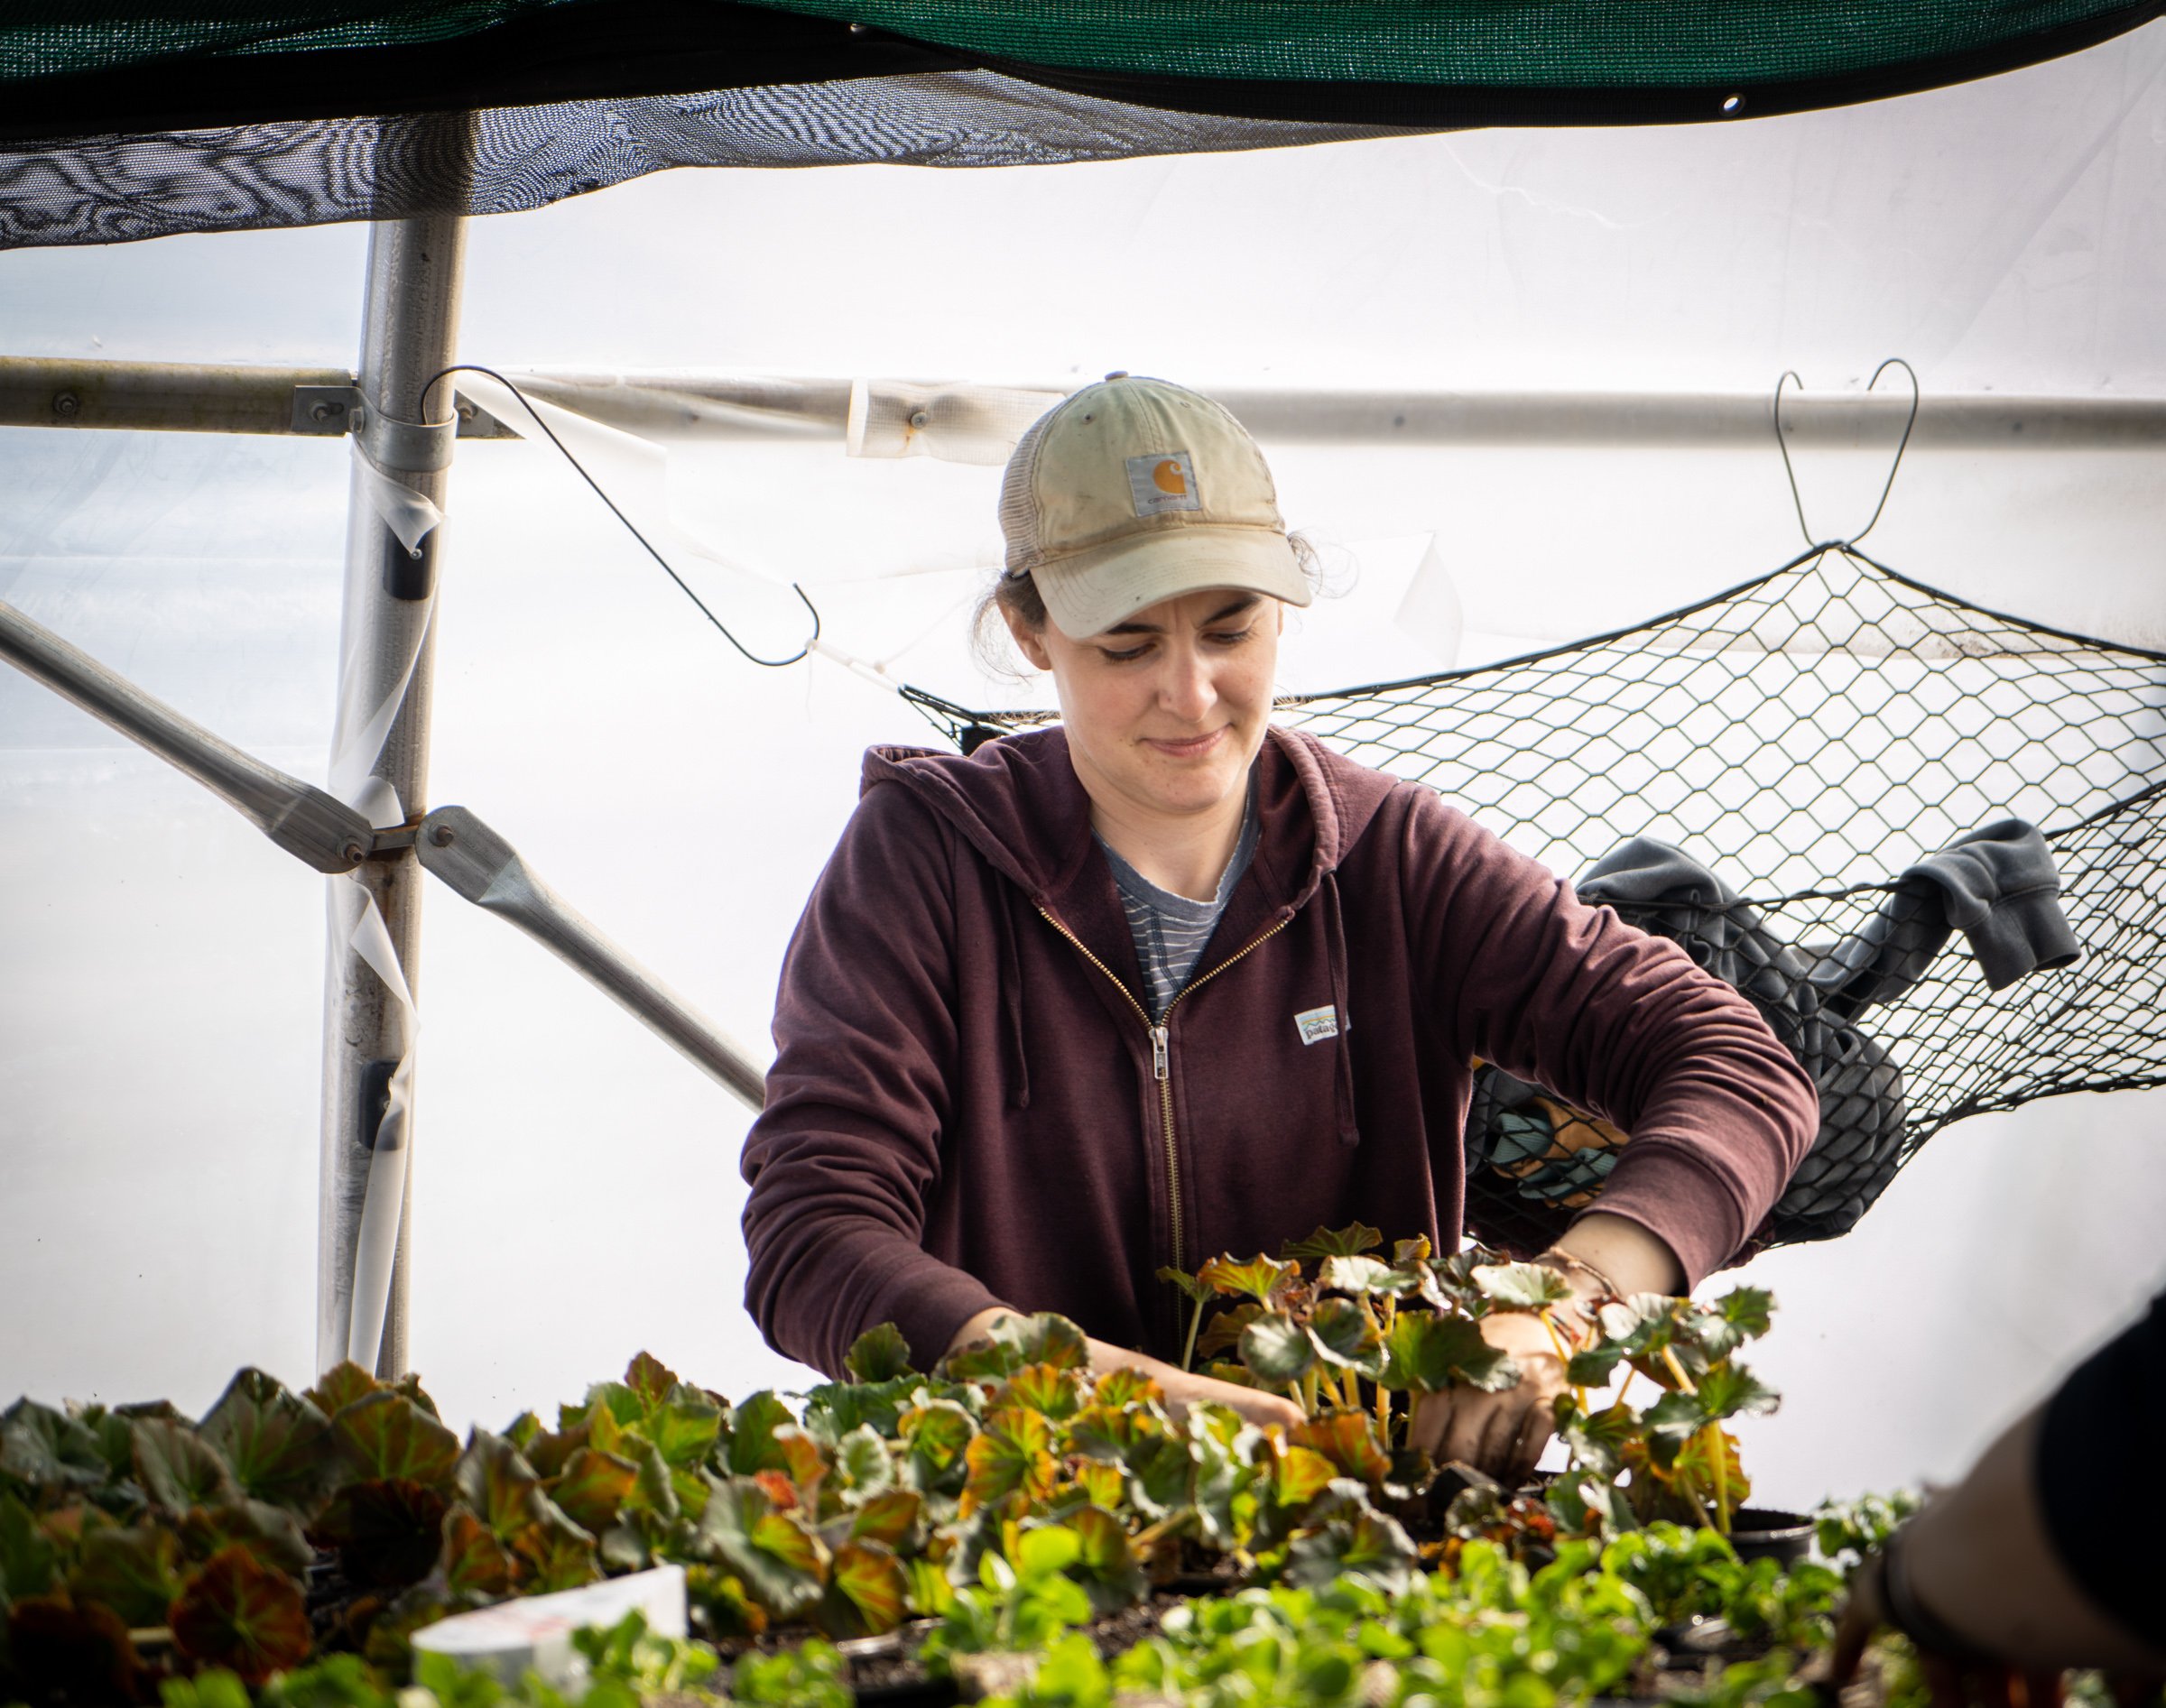
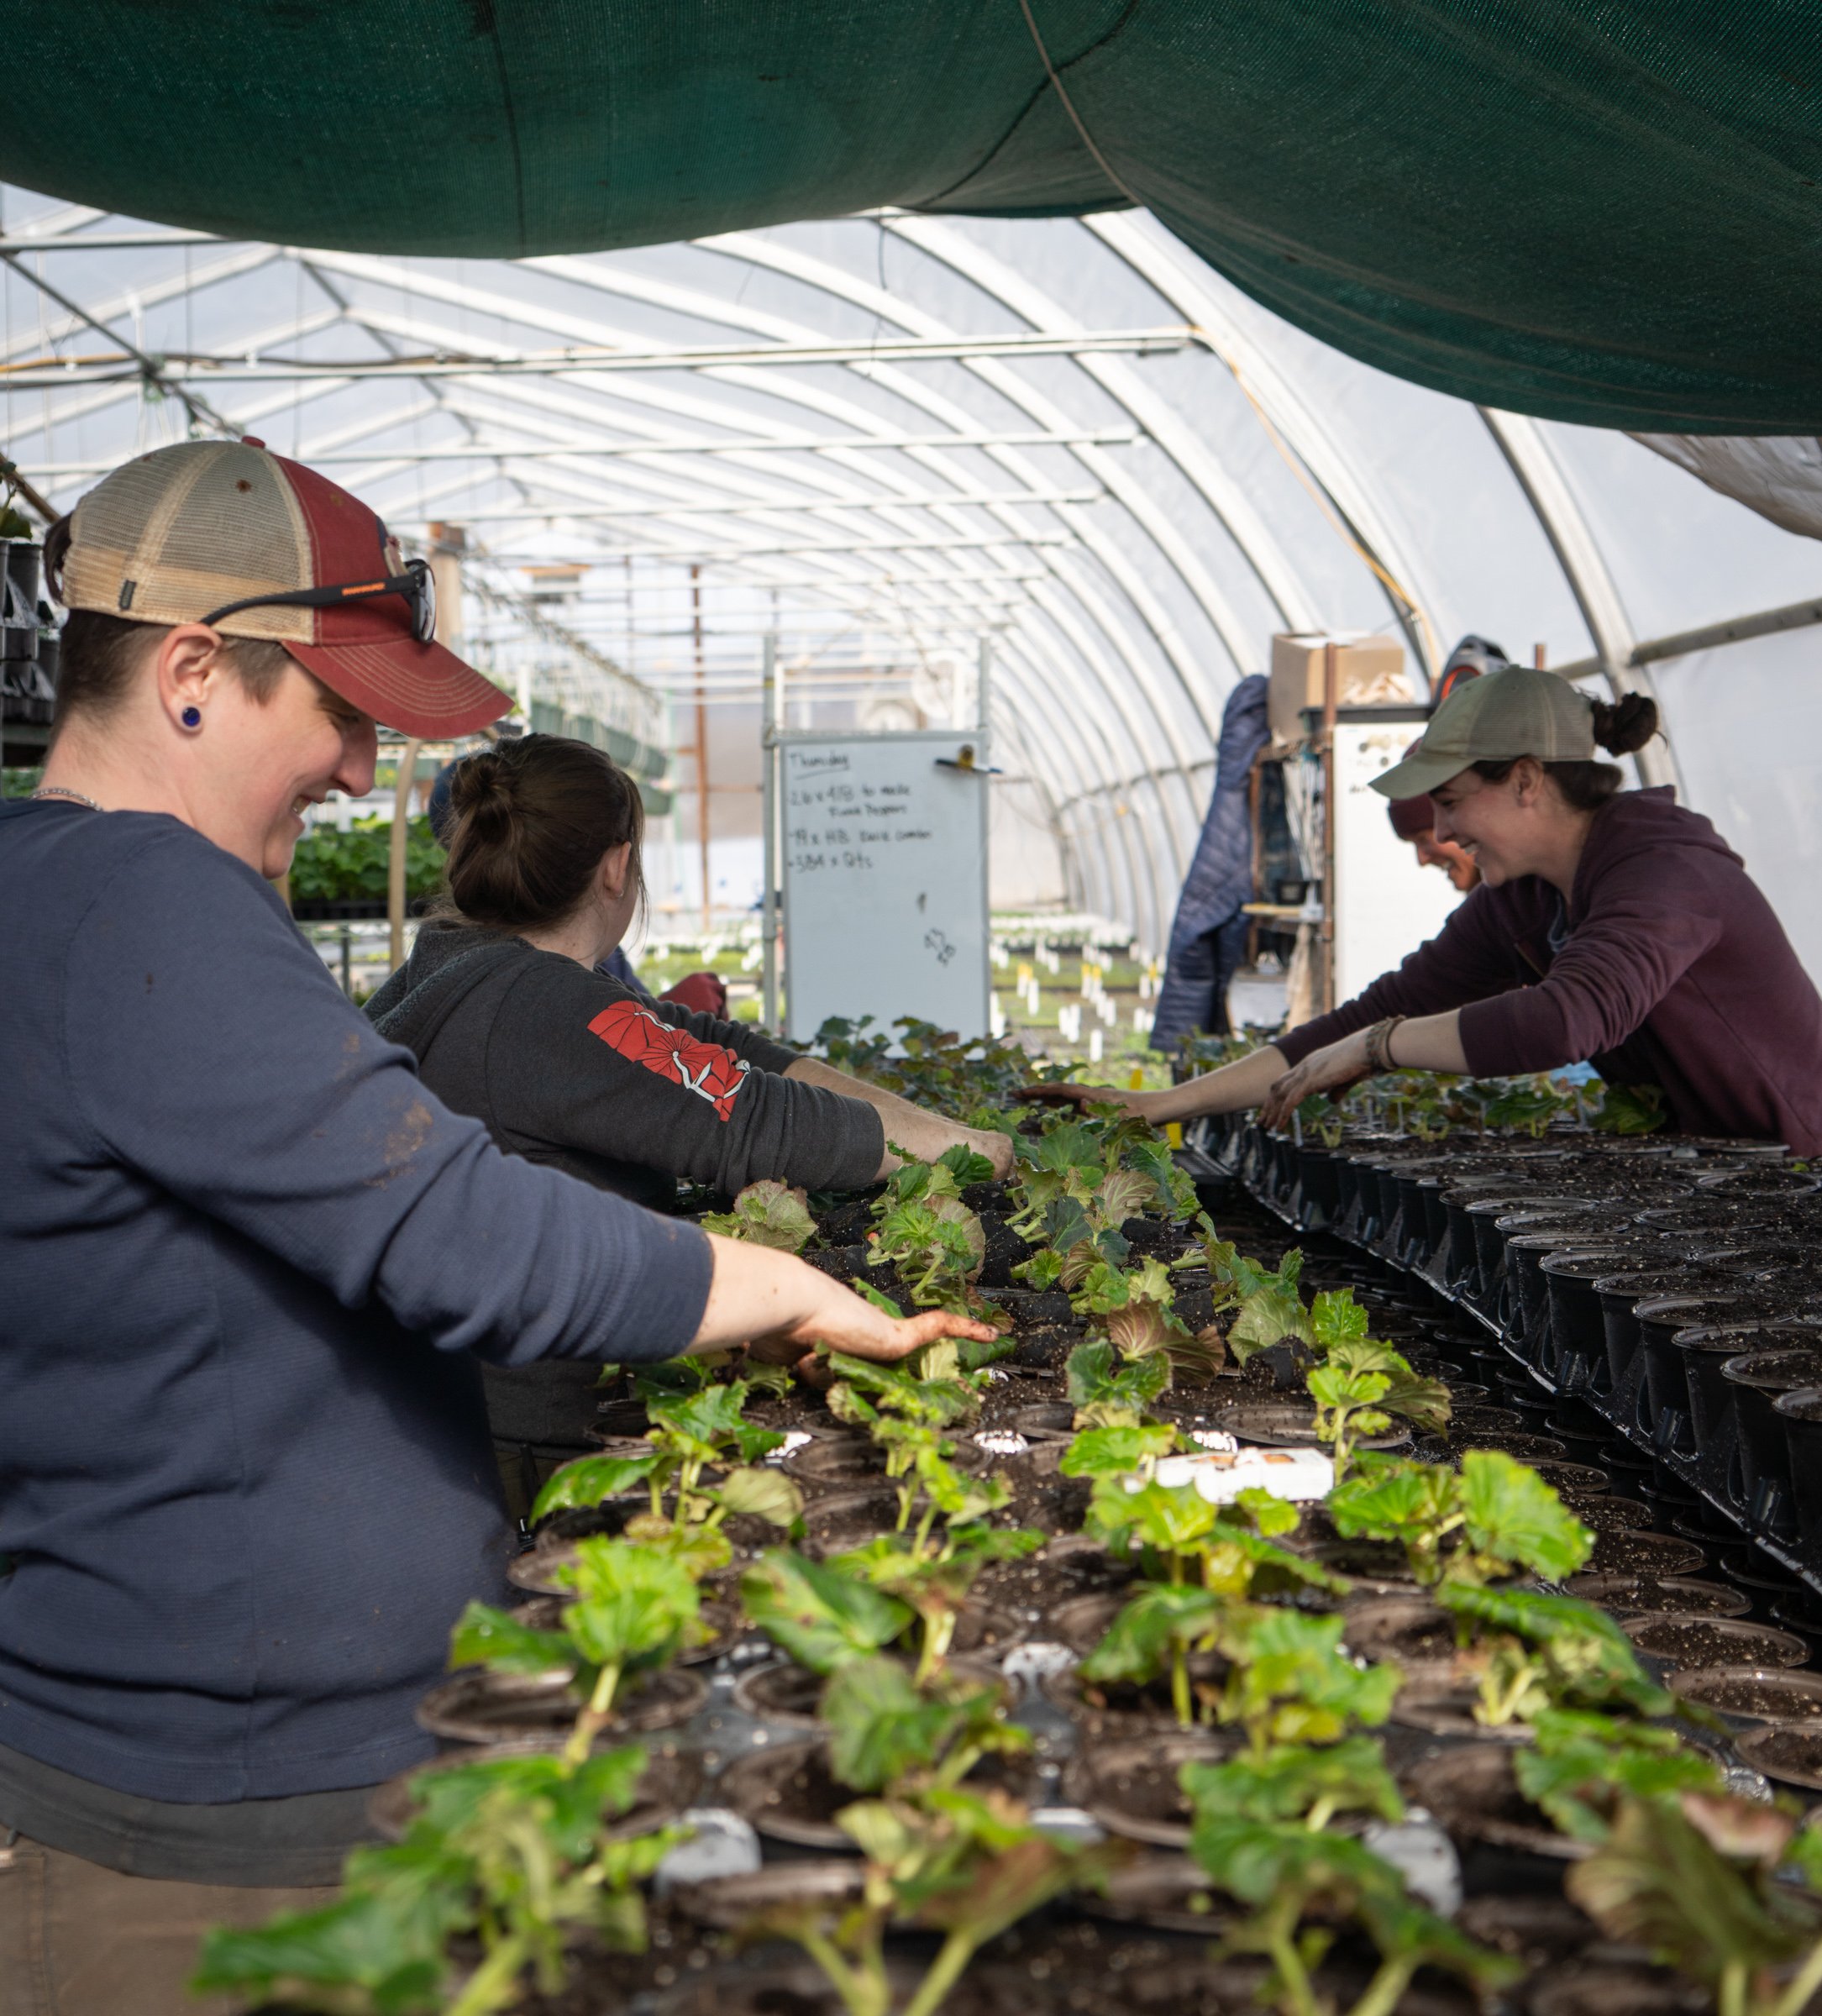
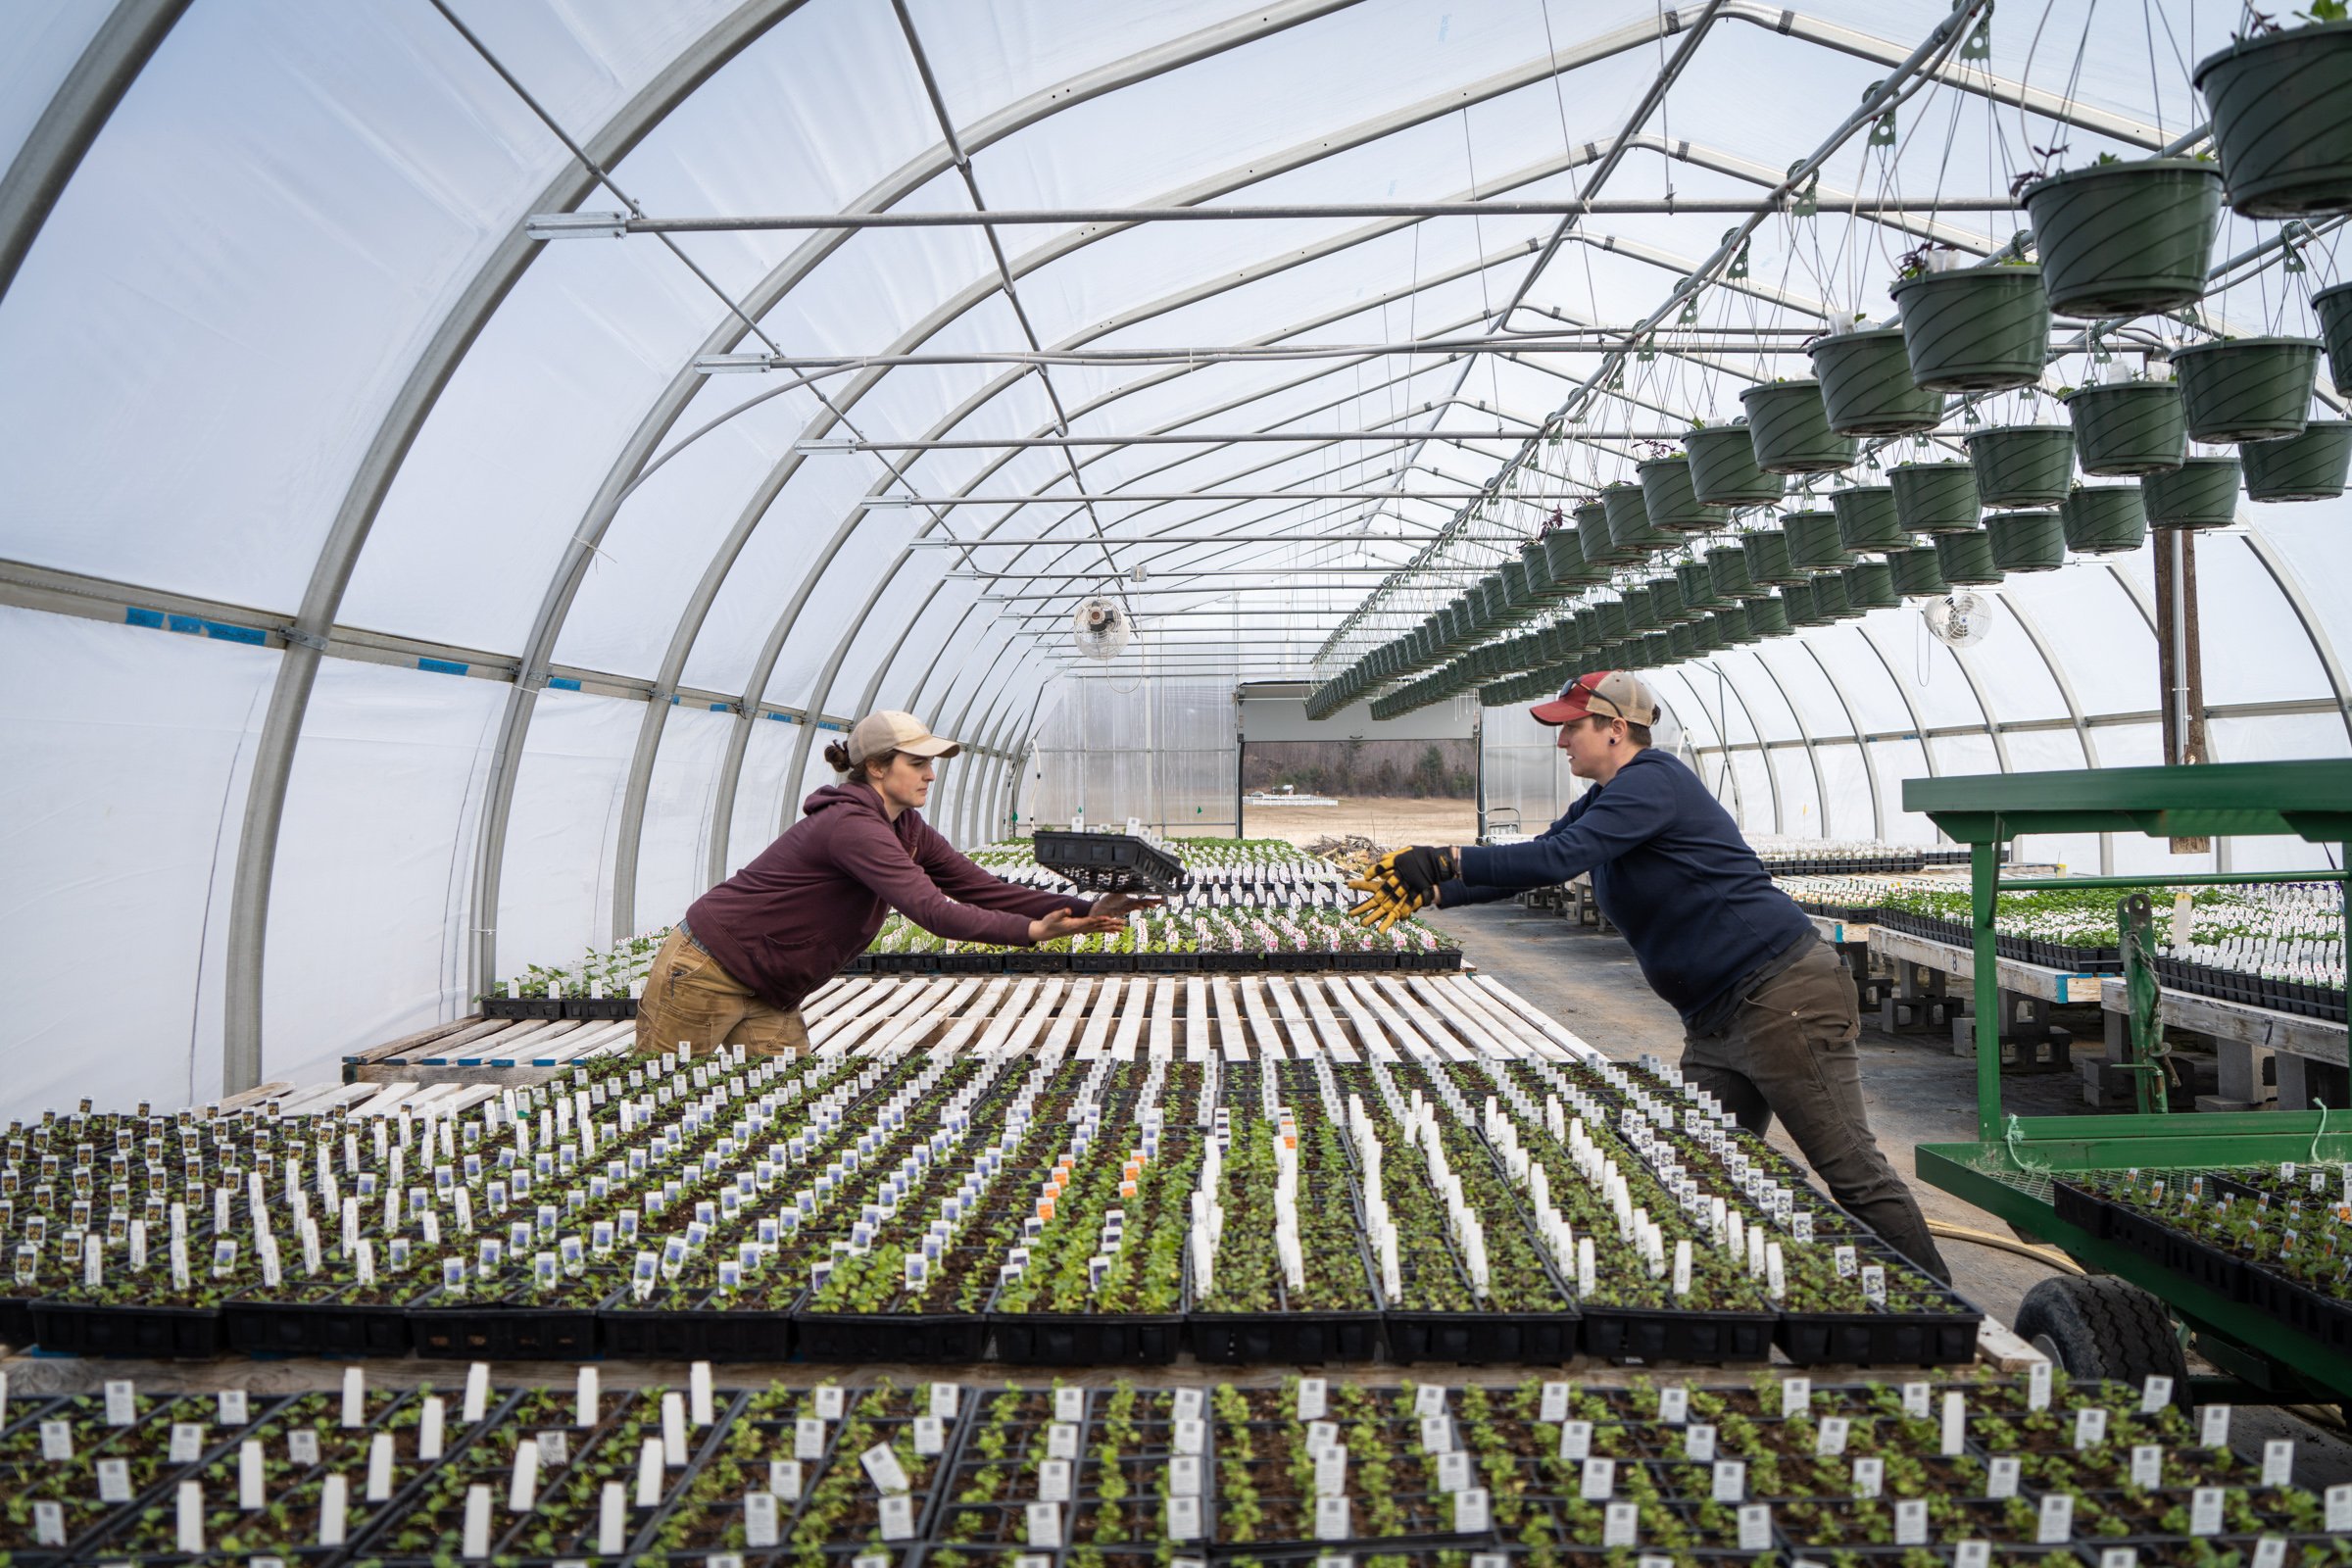
If you are a regular shopper at RWP, you have likely met the kind and smart people that work in our retail spaces, but you probably have not seen behind the scenes. We have a team of incredible people seeding, planting and growing the plants you take home. It is because of their tremendous work ethic, attention to detail and love of plants, that our plants just hum with vibrancy. Thanks to Sara, Sarah B., Sarah M., Steph, Jill, Chad, Kat, Audrey, and Megan for making the magic happen with your hard work.
Planting the Fussy Onion

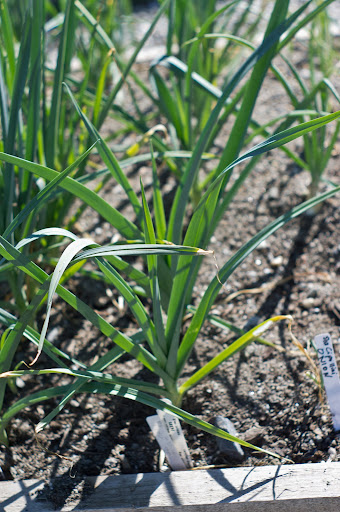
Onions are some of the first things to go in the ground each spring. You may not know this, but onions are finely tuned creatures with a rigid hormonal profile. They are completely and utterly dependent on the sun's cycle to grow into the lovely round orbs we think of as onions. Those plump layers only grow in relationship to the lengthening days of spring. If onions are planted too late, they will never bulb out and become big and round. An onion that has been planted too late, let's say after the middle of May, will never quite size up, but will create a thick stem, and a barely bulbous orb. The engorged stem will not create rounded layers at all but rather look more like a slightly ovate leek. These are still fine to eat, but won't really be onions you can store through the winter.
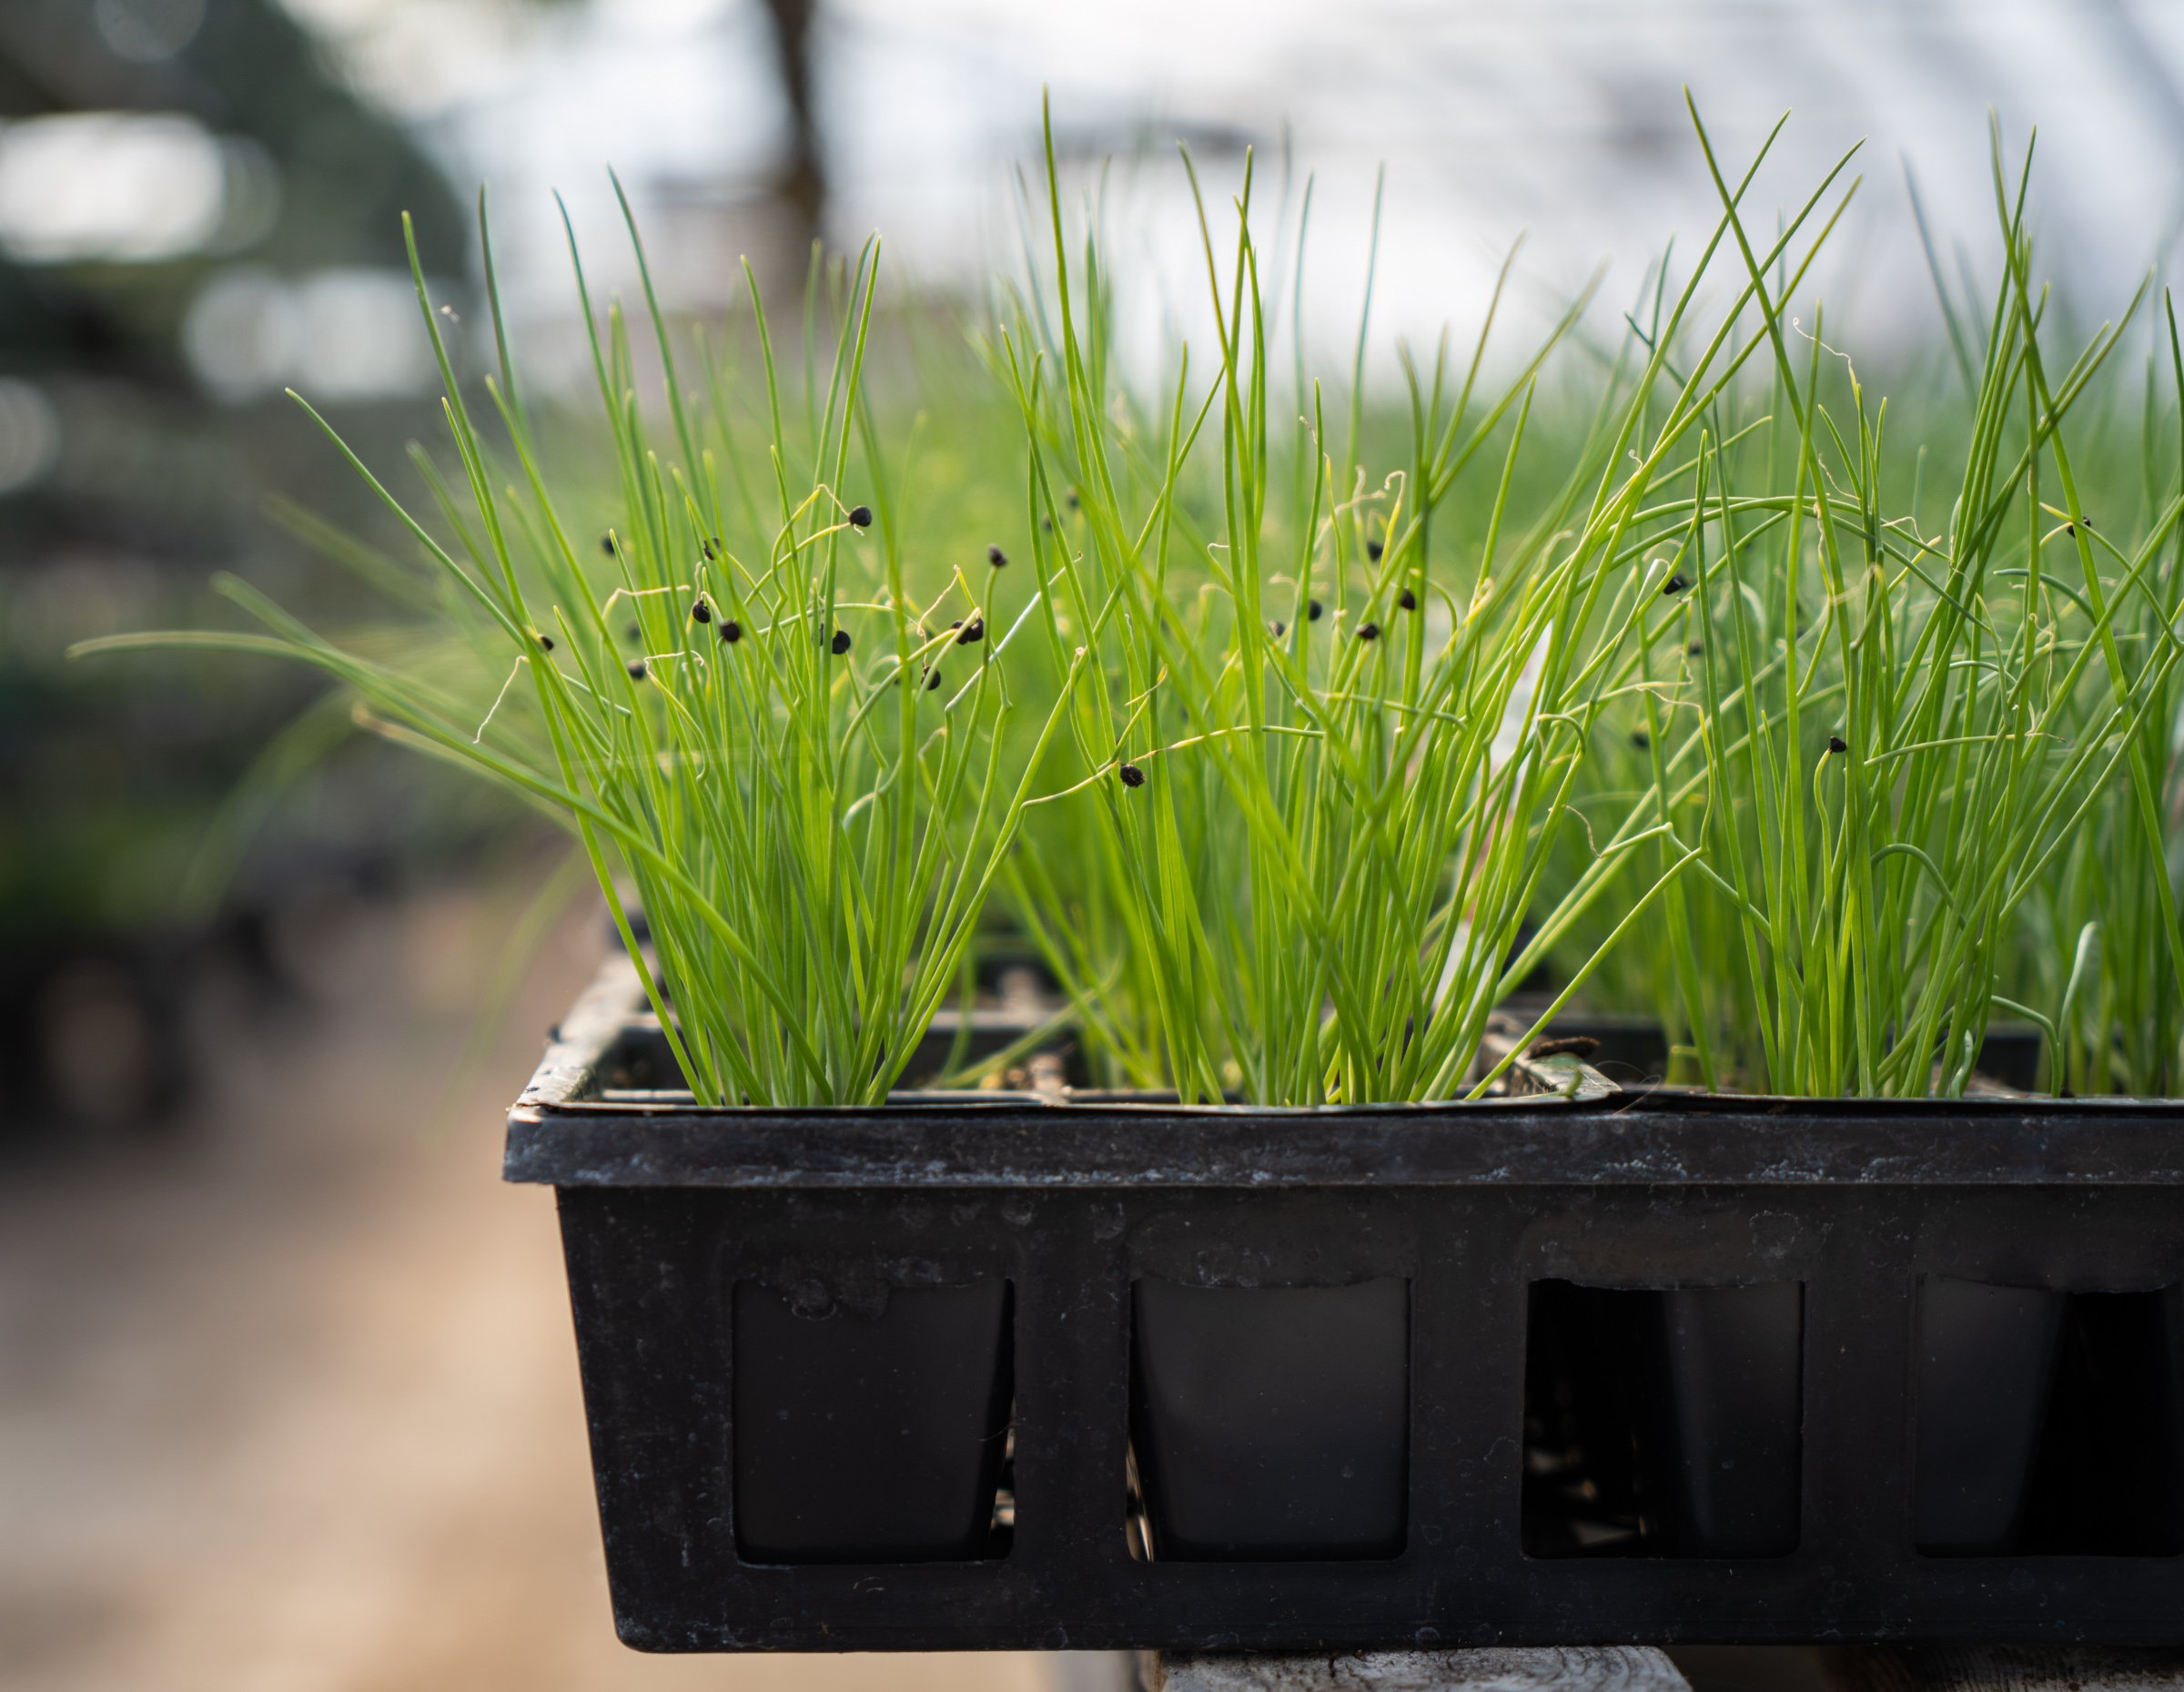
We recommend that people plant onions in mid-April. When it is muddy, and cold, and you think there is no way a plant wants to go into the garden, well guess what? The onions really want to go into that cold earth. The way we grow onion plants for sale is that we seed about 80 plants into a 4 pack, and your job as the gardener is simple:
- Prepare a bed in the garden - deep, well worked, rich soil is best. I prepare my onion beds in the fall, that way they are ready for onion plants first thing in the spring.
- Gently pull the clumps of soil and roots and plants out of the 4 pack.
- Separate each plant and shake off the excess soil. The individual plants are like tiny blades of grass, but each one will grow into a big onion plant.
- Make a trench about 4 inches deep the length of your planting area. Onion rows can be about 8 inches apart, so depending on the size of your bed, you can plant up to 4 rows of onions in one bed and still reach across the bed to weed comfortably.
- Plant the individual plants in the trench, about 4 to 6 inches deep. Only a few inches of the thin green stems will be above ground. You should have about 2-3 inches between plants.
- Tamp the earth tightly around each plant.
The onions plants won't grow much at first, but they are just hanging out in the cold soil, programming themselves to grow once the soil warms up. It is these cold, long days that help make onions nice. I know, it is hard to believe that they prefer this, but they do. Southern growers, who have shorter summer days than northern growers, have entirely different onion varieties than we do. That illustrates just how much onions are day-length sensitive. A few degrees difference in latitude necessitates a whole different set of genetics.
The other things to keep in mind with onions:
- Keep them well watered. Water and day length is what makes onions big. Some straw mulch applied in late June is a good idea for keeping the moisture even and consistent.
- Keep them well weeded. Onions plants are slender and upright. They do not create any shade, therefore weeds like to grow near them, in the sunny under-story of the onion patch and because onions really don't want to compete for food, water and sunlight. They are not good at sharing.
- Keep them well fed. An application of Compost Plus in May is a good idea. It will help them get big and strong.
- Growing onions in black plastic mulch is a good option if you want to eliminate weed pressure and heat up the soil. Once onions are big, they like it hot.
- Harvest onions once the tops start to flop over. You can eat them fresh, as "green onions" or you can cure them by laying them out in a dry, airy place, away from direct sunlight. This usually happens in late July or early August. It depends on the varieties you grow and on the kind of weather we are having.
Onions are best stored in a dark, cool, airy place. A damp basement is not a good storage spot. A cold, dry, dark attic is better. Or an unheated closet, or a garage that does not get too cold. Ideal onion storing temperature is about 35F. That is pretty cold - colder than most basements.
Some onion relatives can be planted later in the season. This includes scallions, mini-purplette onions, pearl onions, and shallots. Leeks are also tolerant of a later planting, and can be planted multiple times throughout the gardening season if you would like to harvest baby leeks.
The onion varieties we grow each year:
Cipollini Gold Coin - a flat, disc like onion that stores very well in the winter. It is a strong flavored onion which mellows when cooked and is delicious caramelized, glazed, or roasted. One of our favorites for flavor.
Yellow Storage Cortland - a huge, good keeper which means that it stores well all winter. Dry the onion once harvested in a cool, airy spot, and you will be eating it until March or April of next year.
Red Storage Onion Mars - also quite big, and also a good winter keeper. Slightly milder in flavor than Cortland and can be eaten raw when sliced thinly. Red Onions develop their red interior only once they have been cured. Once harvested, coll in an airy dark spot until the tops are completely dried and can be pulled off by hand. That is the curing process for all storage onions.
Sweet Onion Walla Walla and Ailsa Craig - both are gigantic sweet onions. They do very well with lots of water and mulch. Sweet onions do not keep over the winter. They do not need to be cured, but rather get refrigerated once harvested. They are delicious roasted, grilled, or eaten raw in sandwiches.
Scallions - These can be planted in clumps of 10 or so plants. They can be planted every few weeks for a continuous harvest. If you do not want to buy scallion plants or seeds, you can eat young onion plants as scallions.
Shallots - These store very well after being cured like onions. They add a sweet and complex flavor to winter dishes, marinades, and dressings.
Mini-purplette - these are lovely purple pearl onions that are delicious in a spring braise with salad turnips and peas. They can be planted in clumps of 4 to 6 plants and can be planted multiple times throughout the season for more than one harvest. They also make great pickles. About 1" to 2" across.
Herb Thoughts

Herb garden planning is not a lot of work, but here are some thoughts I have put together on the topic. Herbs are easy to grow for the most part, but they are a big category of plants (we grow 100 varieties of herbs) and it helps to break them down and organize them into categories. This will help any gardener plant the right plant in the right place and give it the preferred amount of water, sunlight, food, and water.
Why grow herbs? For flavor, fragrance, and beauty - it is the easiest way to improve the flavor of what you cook. It is also one of the easiest ways to have a container garden on your porch or deck. Herb gardening is intimate - you get close to the plants, smell them, taste them, see them respond to regular clippings. They are a perfect way to better understand plant physiology and the best short cut to great food made with little effort.
Propagation: Plants vs. Seeds
All herbs can be planted from plants, and some can be planted directly into the ground as seeds. The herbs that you can seed directly in the ground and expect great results are: cilantro, dill, and chamomile. Everything else will do much better if you start the seeds in containers in a sheltered environment. You can start your own herb transplants easily if you have grow lights and a heat mat. Many herbs take a long time to germinate and many herbs are propagated only from cuttings. Making your own rooted cuttings is possible too, but that takes a little more of a sophisticated set up with misters, rooting hormone of some sort, and humidity domes. For those herbs, it is generally easier to purchase the plants.
Herbs from Seed:
- Parsley
- Chives
- Cilantro
- Dill
- Chamomile
- Savory (winter and summer)
- Marjoram
- Basil (all kinds)
- Common Mint
- Sage
- Catnip
- Chervil
- Oregano (basic varieties)
- Thyme (basic varieties)
- Shiso
- Sorrel
- Lovage
- Lemon Balm
- Fennel
- Salad Burnet
Herbs from Cuttings:
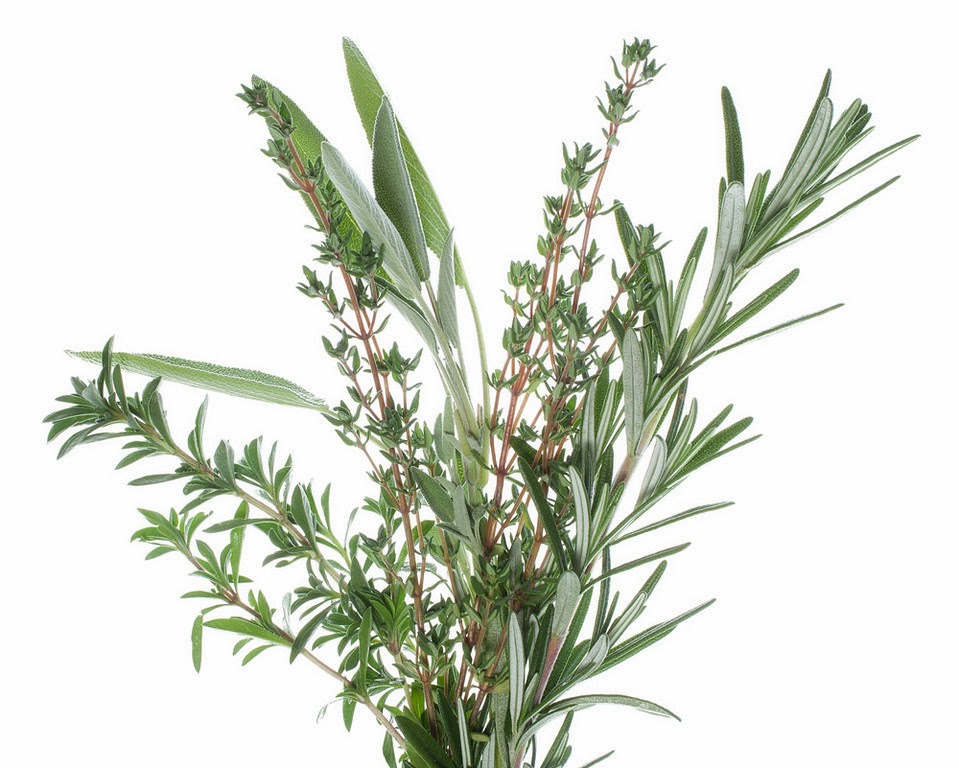
- Rosemary
- Lavender
- Mints that are true to type (spearmint, peppermint, pineapple mint, etc)
- Tarragon
- Specialty Thymes (lemon, variegated, silver, etc)
- Specialty Oregano (golden, ‘Hot and Spicy’, variegated, etc)
- Specialty Sage (purple, tricolor, golden, etc)
Containers vs. in the Ground
Some plants love to be planted in the ground and others would prefer to be in pots. Generally speaking, the herbs that like it dry and warm will prefer to be in a clay pot that breathes like Italian terra cotta. Plants that like it wet and cool might prefer to be in the ground, but they can also be grown in pots if the right conditions are given (more watering, a glazed or plastic pot, heavier potting soil, a little shade).
Herbs that like to grow easily in the ground in Vermont:
Cilantro, Dill, Parsley, Rosemary, Savory, and Chervil
Herbs that prefer to be in containers in Vermont: EVERYTHING ELSE!
This does not mean that you cannot grow herbs in the ground, it just means that in containers, it can be a little easier.
Some herbs do really well as tiny shoots for micro-greens: chervil, dill, cilantro, basil, fennel are our favorites. And they are easy to grow indoors year round – just pat down some moist potting soil in a shallow container (only need 2” or so of soil) with holes in the bottom, press in the seeds, cover very lightly with a thin layer of soil, and keep moist. When the first set of true leaves begin to emerge, they are ready to eat. You can also grow pea shoots and sunflower sprouts this way. A south facing, sunny window is sufficient.
You can bring in potted herbs in the fall and keep them in a sunny window for use during the winter. The herbs that do best with this treatment: sage, parsley, rosemary, thyme, and savory. Basil can be brought in as well, but it won’t be terribly happy unless you have grow lights for it. If you had some of these herbs planted in the ground, you can dig them up and slowly acclimate them to being in a pot and being indoors.
Herbs can be dried or frozen or infused in vinegar or simple syrup for year round use. Pesto or herb pastes made with oil or water can be frozen in small containers. Drying is very simple or very elaborate – you choose! A dehydrator can be used, and the leaves can be stripped off of the stems once dried and stored in jars in a dark place. Or you can go the simple route and just harvest whole branches of the woody herbs such as thyme, oregano, rosemary, sage, and winter savory. Place the branches in woven baskets and keep in a dark, well-ventilated space. They will dry just fine on their own, and you can keep them covered with paper bags or kitchen linens and use as needed.
Related Upcoming Events
Cooking with Herbs with Molly Stevens and Julie Rubaud – a class and dinner.
South End Kitchen, Burlington, Vermont
March 19th., 6pm
Red Wagon Plants pre-season Open House
April 4th 10 am to 3 pm. Tour the greenhouses and see behind the scenes.
Herbal Cocktail Party with Caledonia Spirits
April 17th, Red Wagon Plants 6 pm to 9 pm
Help us kick off our season with a bang!
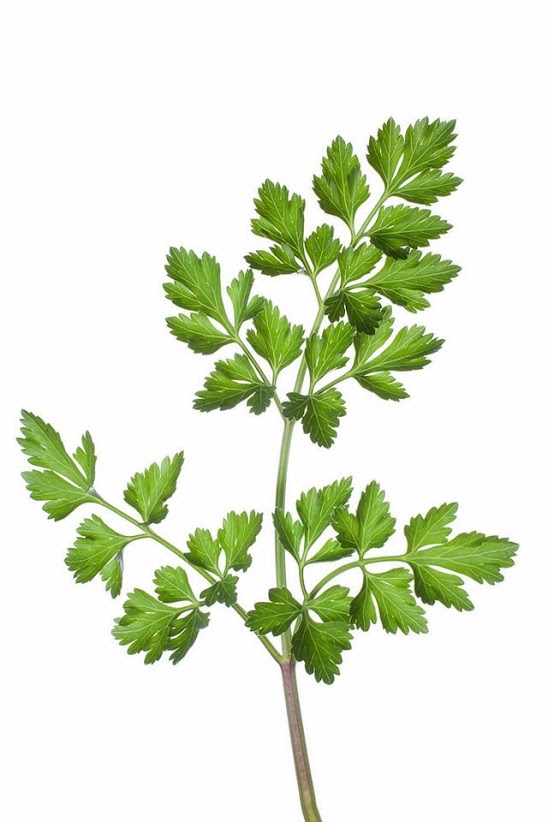
Lori and Doug's Garden, Part 3
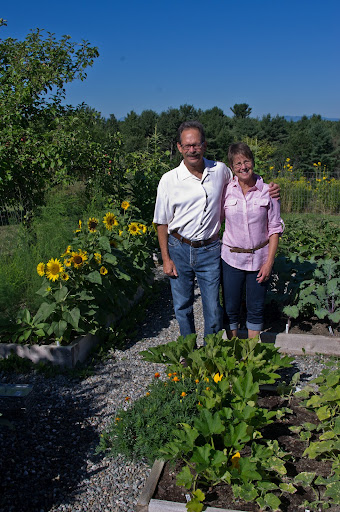
Sophia and Lily visited Lori and Doug's garden this week to take some pictures and get an update on how all those plants are doing in their new raised beds. The garden looks beautiful, and Lori and Doug, gracious as ever, are so pleased with their abundant harvests. A few lessons have been learned along the way in this garden's history, which you can read about here and here.
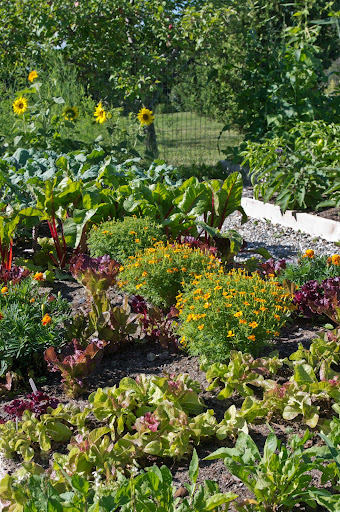
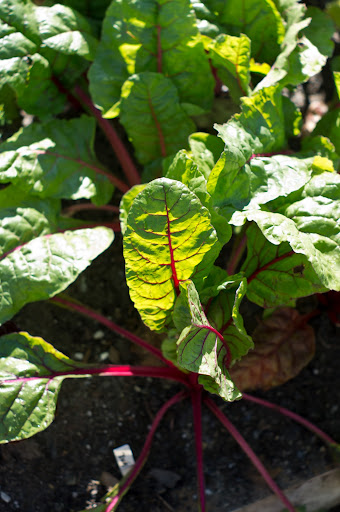
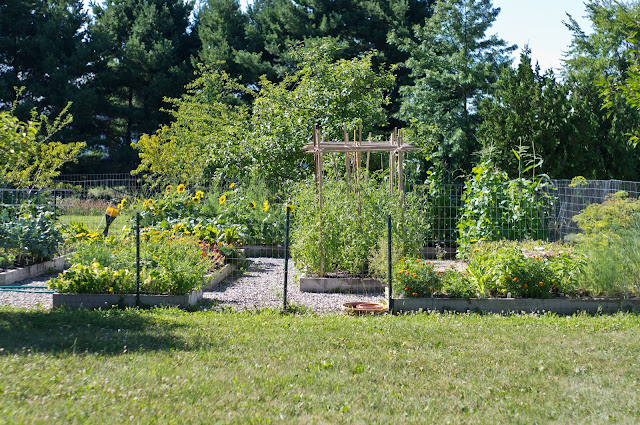
The garden is a great example of how colorful and varied a vegetable garden can be. Here an array of lettuces, marigolds, chard and kales co-mingle to create a carpet of textures, colors, and flavors. This is a perfect example of how edible gardens are also ornamental and can be featured in the center of a landscape.
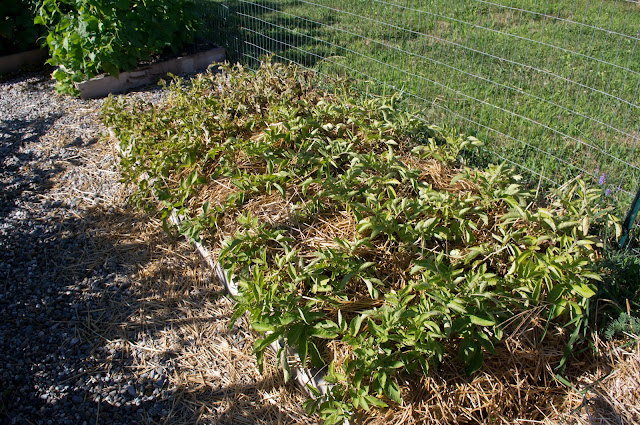
Doug and Lori did a tight spacing on their potatoes at planting time, so they decided to hill with straw since there was not enough room to hill the sides of the plants with soil. This should lead to good yields, helps retain moisture and keeps disease pressure down.
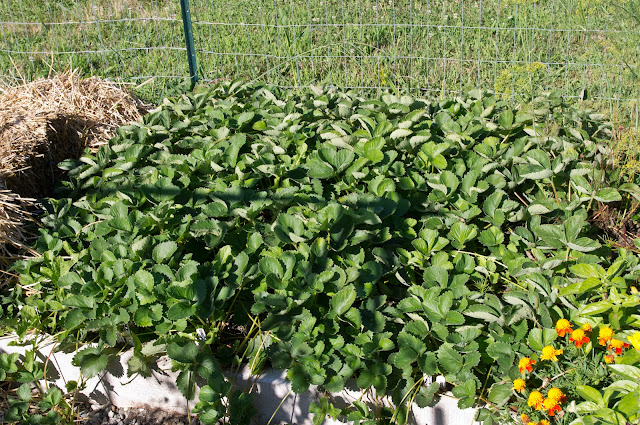
They carefully stripped the plants of blossoms in the spring and are awaiting next year's harvest. By taking off the blossoms in the first year, Lori and Doug were able to help the plants concentrate their efforts on producing the lush green growth you see in the picture. A raised bed is a great way to go with strawberries - it keeps the plants under control so that they do not spread into neighboring plants, the strawberry plants have better air circulation (therefore less disease) and it keeps the berries clean.
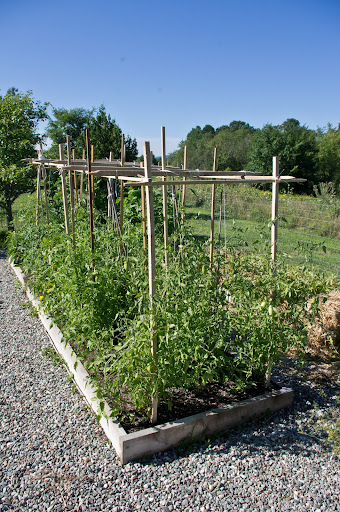
On a recent trip to Tuscany, Lori and Doug spied this trellising system and were able to re-create it at home. Anytime tomato plants are trellised from above, they will grow strong, tall and the fruit will be blemish free. This is the method used by greenhouse growers and in field production on small farms that really care about quality.

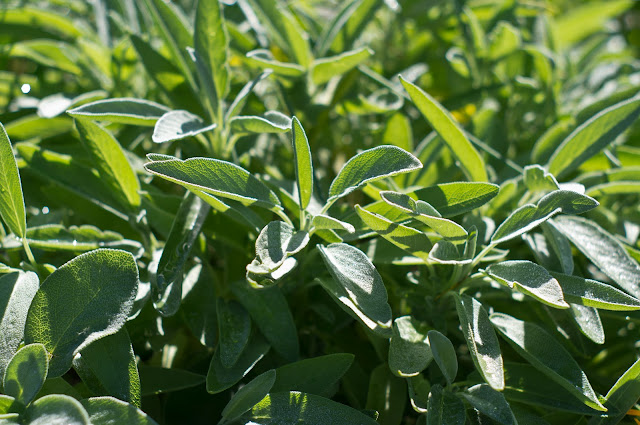
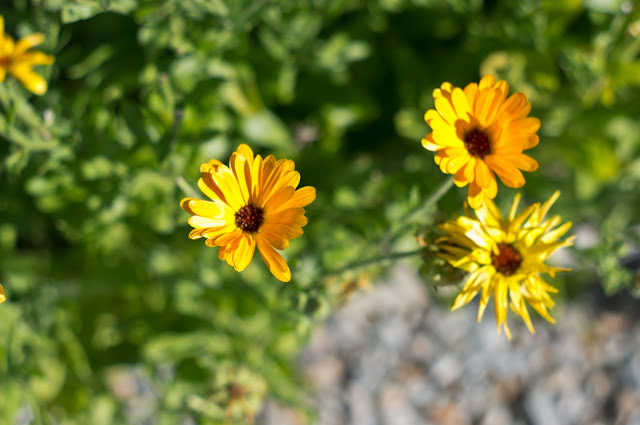
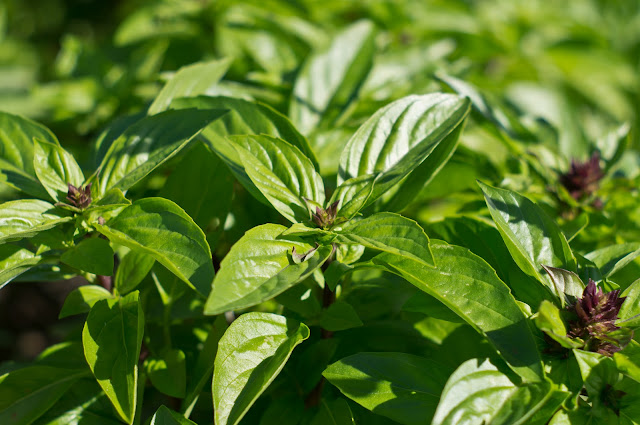
This small 4' x 4' bed provides plenty of space for herbs used daily in the kitchen as well as a few edible blossoms such as calendula. Lori makes a fantastic herb salt by very finely chopping sage or rosemary and mixing it with a good quality sea salt. This herb blend is great on hard boiled eggs, fish, salads, grilled meats.....pretty much anything you can think of. I felt pretty lucky when I was given a jar and have been carefully parsing it out ever since. It is also a great way to preserve herbs for winter use since the salt acts as a natural preservative.
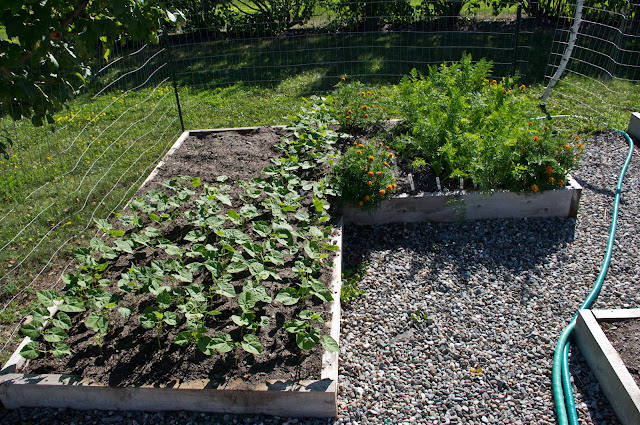
Spaces were cleared out as crops were harvested which meant that new plantings had plenty of room to grow. The space in the back corner is being reserved for another fall planting. Lori just called today saying that she is ready to do a round of fall crops - this will include lettuces, greens, cabbage, and some cold hard herbs such as parsley, cilantro, dill. It is always a good idea to clean up gardens regularly so that old or sickly plants don't take up space that could be used for new, fresh plantings.
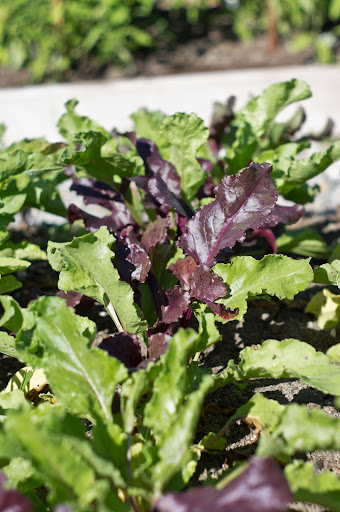
We just love the mixed beet plantings....the mixture of golden, cylindrical and regular beets makes for great salads.

These broccoli side shoots will keep producing into early winter. We only select varieties that produce lots of side shoots. Often one four pack is plenty to keep a small family in broccoli all summer, fall and early winter.

These peppers are great for stuffing. They have a wide, flat bottom and a large, hollow cavity. An herbed rice or a curried couscous is a lovely thing to pair with these beauties.

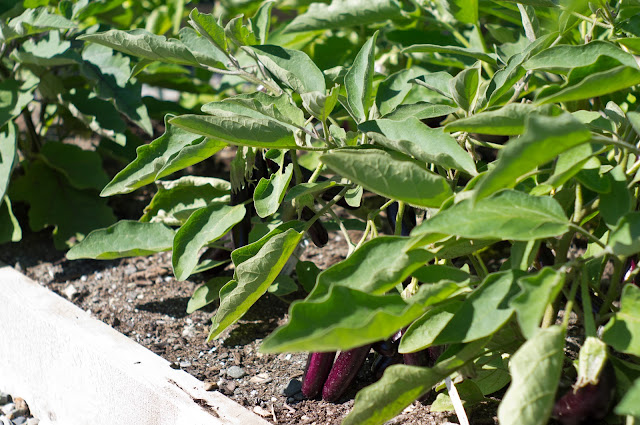
These are huge and lovely, and making me a bit jealous since the ones in my garden are small and not very happy.



Home orchard, here I come.
Last Saturday, we were lucky to have a visit from Charlie Nardozzi, garden educator, author, TV and radio personality, and garden coach. He provided us with two hours of entertaining and information packed advice on growing fruit at home - a project which can feel like a daunting commitment, but which he explained so clearly, that it felt like a task we must all embrace...right now. I have to admit, I have been living in the same house for 6 years and have yet to plant much in terms of fruit trees. I keep studying my property and imagining where the trees would go, but every year, another chance passes and my trepidation leaves me fruitless yet again. I have planted a few blueberry bushes and raspberries and currants far from the house, but no trees save for one orphaned plum tree a couple of years ago. Growing fruit trees always seemed like more work and maintenance than I have time for, but after learning some of Charlie's simple strategies, I feel armed and prepared. Here are a few of the general tips Charlie shared with us.....
- Trees are grafted, unless you dig them up out of the woods. Which is not a good idea, since you would be getting something not bred for fruit production and possibly disease laden. Trees are grafted in order to provide strong root stock in combination with a "top" that is bred primarily for eating quality. In addition, apple trees are often grafted onto a "dwarfing" root stock which will keep the tree from towering above you, fruit out of reach. When planting, look for what is called the "graft union" - it is a slight bulge at the base of the trunk where the root stock and the top meet. This union should be about 1" above the soil line once planted. If you plant it too deeply, you may trigger the root stock to take over the top growth and this would not provide you with the best eating fruit.
- At planting time, use only the native soil in the planting hole. Dig the hole so that it is 2 to 3 times wider than the tree's container or root ball. Do not go deeper than the container or you risk planting the tree too deeply. If you add compost to the planting hole, the roots will never have to reach out and search for food in the native soil and the tree's root system will never develop fully.
- When purchasing a tree, look for even lateral branching (called "scaffolding").
- The first two years of a fruit tree's life are the non-bearing years. It is important that the tree puts its energy into being strong and vigorous, not into making fruit. So, sadly enough, you must pick off the blossoms so that fruit does not form. This difficult task will reward you with bigger and better fruit on a healthy tree in years to come. After Charlie's talk, I dutifully went home and stripped my plum tree of its recently formed flowers.
- Spacing of trees is equal to their height. In other words, if a tree is going to be 15' tall, you need to plant it 15' from its closest neighbor.
- Pitted fruits like plums, cherries, peaches, and apricots do not do as well on clay as apples and pears do. If you are like me, and live in a clay pit, look for the best drained site and consider digging some trenches to direct the water away from the orchard.
- Amend the soil by layering in compost and other nutrients on the soil surface (not right up against the trunk though) after planting. This should include compost, some additional nutrients based on soil test results, woodchips from hard woods (which promote beneficial fungal activity), and a little woodash (only about 1 cup per tree). Vermont Compost Company's Perennial Blend is a perfect material for mulching around the base of the fruit trees. It includes compost, micro-nutrients, macro-nutrients (NPK), and an extra shot of bark, which is high in lignans and which promote the beneficial fungal activity trees love.
- A north facing slope is the best spot for a home orchard - it heats up a little later in the spring and keeps the trees a dormant a little longer. This delays bud formation which lowers the risk of a frost zapping those early flowers. A north facing slope also has good air circulation and frost tends to blow away before settling into a valley or dip.
- Fruit trees are best planted in pairs, and their planting partner should be a different variety or cultivar. This diversity leads to better pollination which equals more fruit formation. For example, a Liberty apple, should be planted near a Honeycrisp, or a Parker pear should be planted with a Summercrisp pear.
I think I will try a few cherry trees and pears this year. I have a spot picked out, on the north facing slope outside our kitchen window. And maybe once those are in, I will start to imagine some blueberries and raspberries nearby....closer to the house than the ones I planted when we first moved here. One thing I am glad about....my years of procrastination with the back yard means that I have a blank slate and the home orchard can be very close to the house; it will be landscape and larder, all in one.
FAQ #19: How can I manage powdery mildew?
From Sophia: Powdery mildew is a white powder-like fungus that particularly grows on cucurbits such as cucumbers and squash, French tarragon, bee balm, and other plants under adverse conditions. Powdery mildew does not generally kill the plants but will reduce their productivity and vigor. You can help prevent the disease by giving plants plenty of air circulation, only watering in the morning when the plants have time to dry, not planting cucurbits in the same place two years in a row, and destroying insect pests when you find them.

Once you have powdery mildew, you can manage it by removing the worst affected leaves with pruners. DO NOT put the leaves in your compost pile! Either burn them or throw them in the trash. Wash hands and tools with soapy water or dilute bleach solution after handling affected foliage and before touching other plants. Plants can be sprayed with a copper- or sulphur-based organic fungicide, or with a mixture of 1 teaspoon baking soda to 1 quart of water, once per week on the upper and undersides of the leaves until 2 weeks before harvest. This should eliminate the disease.
FAQ #17: Should I plant annuals or perennials and what’s the difference anyway?
It depends on what you want! Annuals have to be planted each year because they are tender and don’t overwinter in VT, so you have to buy new ones each season. However, once they start blooming, they do so all summer, if you take good care of them. At the end of the summer just pull them out and throw them in the compost pile.
Perennials are long lived, often indefinitely, but only bloom for a part of the season. In order to have color all season, you need to plant a wide variety of plants. Some need to be cut down after blooming and you may have an empty spot in your garden. Most perennials need dividing in order to be at their best and not look scraggly or take over the garden. Often a mix of annuals and perennials works well to ensure constant color in the garden. Biennials are plants that live for two years but behave somewhat like perennials because they flower and self-seed in their second year, and the seedlings will return year after year. Hollyhocks are a good example.
FAQ #8: How much/often do I need to compost?

If your garden soil is naturally rich in organic matter, an inch or so of compost at the beginning of the season and again in midsummer is probably plenty. If you have very sandy or nutrient-depleted soil, provide as much compost as possible - several inches at the beginning of the season, a few handfuls for each plant at transplanting time, and a thick re-application in midsummer. If you have very poor soil it is also a good idea to rotate the growing area and grow nitrogen-fixing cover crops to increase the organic matter and nutrient content of the soil. The best way to determine your nutrient needs is to do a soil test. Soil can be tested using a simple test from the garden garden center, but a professional soil test will provide more detailed information and recommendations for amendments. Soil samples can be sent to UVM Extension for soil testing for about $14. Find out more about soil testing here.
The Kitchen Garden: Abundant Harvest in Small Spaces
The following is a hand out that accompanied a workshop I presented at the NOFA conference Feb 12, 2012. -Julie
An abundant harvest in a small space can seem like a challenge, but by understanding a few concepts, you can make the most of your small garden so that it meets your needs and brings you joy. Observing plants is the best way to develop garden awareness; making good choices is the best way to avoid “garden guilt.” Abundant harvests have to do with efficiency:
- The efficiency of the plant taking up nutrients
- The efficiency of the amount of time it takes for the plant to mature.
- The efficiency of minimized waste.
- The efficiency of using your space to its maximum potential.
These are not hard and fast rules, but can be applied at your discretion in any area of the garden you would like to improve. These ideas can work for the spontaneous or lazy gardener (like me) or for the hyper-planner who maps it all out on graph paper ahead of time (like my neighbor). Think of it as cooking without a recipe - once you know a few techniques and concepts, you can explore and have decent results most of the time. And there is no such thing as garden failure - it is just a lesson waiting to be learned. The big factors:
- Soil - texture, nutrients, compost, fertilizer
- Shape - raised bed, containers, or “in ground”, bed prep
- Water - drip, overhead, by hand, on timers, etc
- Cultivation - weeds, mulching, pests and diseases, season extension, spacing and timing, succession planting, shape of plants
- Harvest - understanding life cycle of plants, post-harvest handling, when to try for multiple harvest or when to cut your losses, cleaning up plant debris.
Soil should be loose and rich and deep. In a container it should be a pre-mixed potting soil, not garden soil. If the container is large (1 gallon or more) it should have some drainage material in the bottom. Many things work well for this - styrofoam packing peanuts, crushed up plastic pots, gravel, etc. If a pot is very lare (3 gallons or more) the drainage material can be a little deeper, up to the bottom third of the pot. It is a good idea to cover the drainage material with a piece of burlap, an old pillow case, or some other type of screen or fabric to keep the soil from washing down into the material that should remain porous.
In a raised bed, it can be a combination of materials including pre-made finished compost, leaf mold (rotted leaves - make a pile in the fall, it’s good to go in the bottom of the raised bed in the spring), peat moss, rotted manure/bedding (a good source is horse farms), garden soil, sand and pre-mixed top soil / compost combinations. The key is to have a mixture of ingredients to re-create the complexity of a living soil system.
In the garden, the soil should be worked deeply with a 4 or 5 pronged fork, and loosed by hand or with a hoe. Even if you use a rototiller in the garden, the plants will benefit from having the soil loosened more deeply than where the rototiller tines reach. It is a good idea to shovel out the paths of the garden and put the extra soil onto the beds. This essentially makes a raised bed and will allow the roots to grow quickly and deeply in their search for food. Nutrients can come from compost, granular fertilizer, “Compost Plus” and/or mineral inputs. It is a good idea to get a soil test in your in-ground garden or raised bed. If you are using materials in the raised bed that you know are of good quality, you can skip this, but if your plants look deficient during the growing months, you may opt to do a test after all. Applying granular fertilizer or “Compost Plus” is best done after the plants have had a chance to grow out - either a month or so after seeding or two weeks or so after transplanting. Water is best done through drip irrigation - either soaker hoses or drip tape. A good source of drip tape is Dripworks. Next best watering choice is by hand since you can aim the hose nozzle at the soil, and not get the foliage wet. Third best choice (and not a good one, sorry) is overhead sprinklers: they require less of your time and labor, but they get the foliage wet. Two reasons to avoid getting the foliage wet with overhead irrigation (sprinklers and incorrect hand watering):
- it rots the plants, and disease can set in. Dry plants tend to be healthier plants.
- the plants take up water with their roots, not their leaves. You waste a lot of water and the leaves act as a nice umbrella for the roots, making it wasteful. You have to water more than necessary for the roots to actually start drinking. Getting the plants wet and watering the garden are two different things, and it is best not to confuse them.
Watering is best done in the morning - it gives the plants a chance to dry off before night time and supports their busy daytime growth. Watering at the end of the day is not recommended since disease spreads most during humid summer nights. You can water the garden during the middle of the day, and the plants will still have time to dry off by sunset. Cultivation is simply the act of caring for plants. In larger scale farming, to “cultivate” means to scuff up the soil in such a way that you are removing weeds, usually involving a tractor and some sort of implement. Here we use the term “cultivate” in a broader sense meaning a general discussion of the cultural requirements of common garden plants. The “cultural requirements” of a plant are all the things that a plant needs from humans in order to thrive. For example, the site, the water, the tilth or texture of the soil, the space and the nutrients are all a part of a plant’s cultural needs. To understand what a plant needs, you have to look at these factors:
- what is it’s shape? Shape of plants, physiological structure, and type of cells that make up the roots and the foliage all give you clues to what the plant needs. Thin fibrous roots dry out more than thick, tuberous roots (think of an onion plant vs. a tomato plant). Waxy, shiny leaves are more drought tolerant than matte, thin leaves (think of a succulent like aloe vs.a leafy plant like lettuce). Large plants with broad leaves have very different requirements than skinny tall plants (think brcocolli vs onion). The canopy a plant creates is also a clue - plants with a small canopy (onions, celery, leeks) do not cast much of a shadow. This makes them very vulnerable to weeds. Plants that create a large canopy (squashes, cabbages, broccoli, eggplant) cast a large shadow which slows down weed growth. Understanding the shape or growth habit of a plant also helps you maximize the potential of your small garden.
- A tall, vining plant can be trellised.
- A low growing, sprawling plant can be planted on the edge where it spills onto a lawn.
- A tall, skinny plant can be tucked into tight spots.
- A pretty, decorative plant can be planted in the flower bed.
- how hungry is it? Plants that need a lot of fertility are often referred to as “heavy feeders”. One common point amongst most heavy feeders is their life span. A baby lettuce plant that is in the ground for 20 days is going to be a light feeder. A giant, prize winning pumpkin in the ground for 130 days is going to be a heavy feeder. Plants that produce fruit such as tomatoes, zucchini, squash, peppers and eggplant are best fed when in a vegetative state (all green leaf growth, earlier in the first 45 days of transplanting); once those plants are in their fruiting state, it is best to lay off the fertilizer or compost which support green growth, not fruit growth. The plant has only so much energy, and if it is putting it into leaf growth, it won’t also put it into fruit growth. It is a balancing act since the green growth needs to happen quickly and in a lush manner in the earlier part of the season in order to support healthy fruiting in the latter part of the season.
- how thirsty is it? As in the discussion of shape, a plant’s water needs have to do with its structure, but also with weather and soil type. A garden in sandy soil will always need more water than a garden in clay soils. You can look for cues of thirstiness in a plant and water just as needed. These clues include very slight curling of leaves, a blue-like hue that creeps in (this is very sublte), or a very subtle droop in the way flowers are angled. This type of “reading the garden” takes some observation to understand, but gardening is a lifetime project with countless places to learn. Fruiting vegetables tend to taste better with less water. Leafy vegetables tend to taste better with more water. It is entirely possible to water tomatoes only once every two weeks, even in a drought, and get very tasty fruit. If you did that with lettuce, it would be bitter at best, but more likely it would simply be dead.
- how well does it share? A plant that knows how to share light, water, and nutrients with its neighbors is a plant that does well in small spaces. Radishes are a good example. They can be sown alongside just about any other crop, and they do quite well because of their short life span, lower light requirements, and broader leaves that shade out weeds. Radishes can share. Other examples of plants that cooperate nicely: arugula, baby lettuce, scallions (they are skinny and can go in nooks), cilantro, curly parsley or smaller varieties of Italian parsley, strawberries and wild strawberries, and pansies. Notice....with the exception of scallions, all these plants are low growing, have broad leaves that create a canopy that shades out weeds, and can tolerate a bit of shade that might be thrown by a neighboring canopy.
- how well does it compete? Plants that compete well are plants that are not easily thwarted by dry conditions, weedy conditions, temperature extremes, or low nutrition. You can always increase your harvest and increase your efficiency by knowing which plants have these characteristics. It basically allows you to prioritize garden tasks -you can make the less competitive plants a priority, and save the more tolerant, tough plants for a day when you have a little more time. Working smarter in the garden can increase the harvest, and save you some “garden guilt”, just by knowing when to say “it’s okay if that is weedy, it can wait until the weekend.”
Succession planting is another way to increase your yields. This is the act of planting multiple generations of plants so that you have a continuous harvest. The trick with succession planting is to know a few numbers
- the date of the average last frost in spring
- the date of the average first frost in fall
- the amount of time it takes for a plant to be harvestable (a.k.a. “days to maturity)
and two cultural factors:
- is the crop frost tolerant or not?
- is it a “multiple harvest” crop or a one time harvest?
Once you know these numbers and the frost tolerance of a plant, you can make some simple calculations based on your season length to determine how many generations of a particular plant you can grow. For example, head lettuce has about a 40 day life cycle from transplant time to harvest time, and it can tolerate a light frost. This means you can start transplanting it in early May (in Burlington, average last frost is last week of May) or so, and you can repeat the planting of it every week or so, until early September. (in Burlington, average first frost is first week of October). Head lettuce is something you harvest only once, so if you want a nice head of lettuce every two days or so, you would plant 4 heads of lettuce a week, every week from early May to early September. This will give you a continuous harvest from early June until mid-October. If you are the kind of gardener who “puts in the garden” on Memorial Day and then you never replant, it is likely that you have a big glut of produce at certain times, and then none that is fresh and good at other times. By planting multiple generations of plants, you insure high yields and great flavor. A patch of bush green beans only produces good quality beans for about 2 to 3 weeks. After a while, the beans are tough and sparse on the plant. If you replant a new patch every couple of weeks, you will always have high-yielding, tasty beans. Abundant harvest happen on healthy plants at their prime, and gardens in small spaces require a certain amount of decision making. You always have a choice to pull out tired plants and to replant with new seeds or plants - this is often the most efficient way to have better yields. Mulch is a great way to keep weeds at bay, and to keep moisture near the root zone. It can also build soils, heat the soil, or cool the soil - all depending on your goal and what the plant needs. You can mulch paths and/or growing beds. Raised beds that are constructed out of wood can also be mulched and the paths around the raised beds can be mulched to minimize lawn mowing if you would like. If you use materials that naturally break down such as paper, cardboard, burlap bags, straw or bark, the mulched paths can become mini compost piles. By layering in materials that block out weeds, you are creating a layer of organic matter that will decompose over the course of a year and can then be shovelled onto the growing beds the following spring. Some mulch materials carry weed seeds so beware. They can still be used effectively in the garden, but best as a layer that is covered up with another barrier such as cardboard or burlap. As it breaks down and heats up over time, the weed seeds lose their viability and will not be a problem the following year. Plastic mulches heat the soil and are great for the heat-loving, fruiting crops. Harvest and post-harvest handling are other factors that affect the yield in your garden. Being able to plan or predict when you harvest a crop depends on your knowing the life cycle or days to maturity of that crop. It is entirely possible, to plan a garden harvest around certain dates or to plan for having no harvest during vacation times. An abundant harvest is one that happens when you want it. An unwanted harvest is a hassle - you have to get your neighbors to help, or find volunteers for a school garden, etc. Sometimes that works, but it is possible to minimize unwanted work, and under-appreciated produce by timing the plantings and knowing how much to plant of each crop. There are many charts on the internet that can help you gauge the garden harvest and how much to plant of each crop and when. Johnny’s Selected Seeds has some wonderful on-line tools, as does our own Red Wagon Plants website. Post-harvest handling includes everything from time of day you harvest, how you pack it into your basket or boxes, and how you store it. Morning is generally the best time to harvest since the field heat has not had too much time to affect the leafy green plants. Fruiting plants can be harvest later in the day. Again, this is a place where you can make a choice by harvesting the right plant at the right time of day. If you only have a few minutes to harvest in the morning, do the leafy greens. The fruiting plants can usually wait until later in the day or even a couple of days. Once a plant is cut or picked, it is best to wash it and refrigerate it right away. Again, this is related to an abundant harvest because anything that improves quality reduces waste. Lettuce that is wilted and dirty in the bottom of the fridge drawer is just not as appealing as lettuce that is crisp, clean and ready to eat. A small garden is not a productive garden if what you harvest ends up under-utilized. A good trick is to harvest the lettuce, and when you get in the house, soak it in a basin or large bowl of cold water right away. This takes out the field heat, the leaves absorb some water making them more crisp, and the dirt drops down to the bottom. Lift the leaves out, re-soak once or twice depending on the amount of dirt, and then spin the leaves in a lettuce spinner or by layering between some clean towels. Lettuce treated this way is sure to get eaten, promise! Plants like broccoli, beans, and tomatoes produce more the more they are harvested. Broccoli will generally make one big head, and then produce what is called side shoots all summer long. These shoots are the perfect size for cooking or eating raw and the more you remember to cut them, the more the plant will produce. Often a broccoli plant that goes into the garden in late April will continue to produce side shoots into mid-December - talk about a high yield! Most fruiting plants (tomatoes, cucumbers, squash, peppers and eggplant) will also produce more the more they are picked. These do not need immediate refrigeration, and tomatoes and basil should never go in the fridge. A basket full of cukes and zukes can stay on the counter until a time later in the day when you have had a chance to make room in the fridge or have time to make pickles,etc. Again, a high yield can be a burden or a blessing, depending on how it fits into your life. With a little planning, a very small garden such as a 4’ x 8’ raised bed can include 2 tomato plants, a cucumber plant and a season’s worth of greens. This is often plenty for a single person or a couple. Abundant harvesting is about making choices that lead to efficiency and no waste., beauty and no guilt. If you use your minimal space for vegetables that you will not use, then the space is wasted, if instead that small space is regularly turned over with fresh plants, and old plants are removed, then you will have a high yield of well loved produce. It is always a better choice to remove the garden debris (think bolted lettuce, cabbage stumps, woody radishes) than to let it limp along, tempting disease and pests.
Some good sources of information
- Our website has an extensive list of resources in the “Garden Journal”
- Johnny’s Selected Seeds, High Mowing Seeds, Territorial Seeds, Seed Savers Exchange and Botanical Interests are all reputable seed companies with lots of educational materials on their websites and in their catalogs. These are great sources of free information.
- Cornell Extension has a website for home gardeners that is very helpful
- Elliot Coleman’s books are geared towards vegetable farmers but have very clear explanations of succession planting, timing and spacing
- Barbara Damrosch, The Garden Primer is my favorite all around basic gardening book
- UVM Extension offers soil tests, a plant pathology lab, and a pest identification lab
- Burlington Permaculture
- Charlie Nardozzi offers a garden coaching program and gives weekly talks on VPR about gardening.
- Friends of Burlington Gardens offers support to school gardens, community gardeners, and anyone interested in learning how to grow food. They offer a season long course at Ethan Allen Homestead that provides brand new gardeners all the support necessary to achieve success in their first year.
.
Fall Planting Guide
Mid-August is rolling around, and with it comes some vegetable planting possibilities that will feed you late into autumn and early winter. This is a great time to clean out some of the garden beds that have finished producing and replant them with some fresh crops for late season harvest. Here are a few options that you might want to consider incorporating into your later summer gardening routine.
A note on flea beetles and row cover. Flea beetles are little, black and jump around on your plants while making tiny little holes. They love anything in the brassica family - cabbage,broccoli, arugual, mustards, collards, etc. Row cover is a white fabric used to keep out insects and/or to warm up the soil and air around the plants. It does not hurt to use row cover to speed things along and to keep out the flea beetles. Broccoli - seed a small amount directly into garden beds, or buy transplants up to mid-August. If you are direct seeding into a garden bed, remember to thin or prick out and replant the broccoli babies so that they have proper spacing (15” or so). Cabbage - same as broccoli. Choose shorter day varieties. Seed packets usually list the days to maturity for all crops. In early August, you can usually get away with planting a 60 day cabbage that will be ready in early October. Kale - this is a great time to put in a few more kale plants or seeds, they will size up before snow flies, and will withstand lots of wintery weather. The good thing about kale, is that once it is full grown, it will just stand around in the garden waiting to be picked. It does not get “too old” or bolt (jump into seed production mode). This makes it a great early winter crop and a joy to harvest under snow fall. Collards can be treated this way as well. Arugula - a nice addition to salads, this tender green with a mustard-like flavor is also a great survivor of cold temperatures. It can withstand many hard frosts and will continue to add a little spike to your salads well into November and December. You can put row cover on it to keep away the flea beetles and to give it a little extra protection from cold winds that can dry it out. If it starts to turn a little purple in the colder temps, don’t worry about it, it is still fine to eat. This is just a symptom of not being able to absorb phosphorous in cold conditions. Turnips - a short season salad turnip can still be sown in August. I like the Hakurei variety from Johnny’s. It is delicious raw in salads, sliced thinly or finely diced, or sauteed in a little butter with fresh herbs (winter savory makes a special appearance at my house, often in this dish in particular). People who think they hate turnips will just be shocked when they taste these buttery slices that just melt in your mouth. Spinach - in the first half of August, it is a good idea to plant a large patch of spinach. It will germinate in the cooler night time temperatures (spinach does not like to germinate in the heat) and will last a long time in the field in the cool temperatures of October and early November. Carrots - fall carrots are best seeded right around July 4th. This gives you a chance to do an early batch of carrots for late spring, early summer eating, and then a second (or third) batch for fall eating. Fall carrots are considerable sweeter than spring seeded carrots and are definitely worth the trouble. Boc Choi - this is another crop that does really well in the cooler temperatures of fall. It is not a heat lover, and therefore should only be planted in April and May and then again in mid to late August for fall harvest. This benefits from row cover if you have a lot of flea beetle pressure. There are quite a few different versions of boc choi, and if you like the crunchy texture and delicate flavor of this crucifer, then please consider trying baby boc choi, red boc choi, or full sized boc choi. While it is easier to start with plants, it is certainly possible to direct seed this crop. Beets - fall time beets are sweet, tender, and do not have that “dirt” taste of beets grown in full summer heat. Last planting date for fall beets is around August 10th. They should be direct seeded in the garden and then thinned to one plant per 2 to 3 inches. You can space the rows 10 to 12 inches apart and fit about 3 rows in an average bed with a 4 ft width. The greens are tasty too, and the little delicate plants you pull out when thinning are a great addition to sauteed greens, soups, or even salads if very young.
Cilantro and Dill - these herbs can be planted directly in the garden from seed as late as mid-August. They grow well in the cold, and actually prefer it. The cold slows them down and prevents them from going to seed. Plant a good sized patch since you can harvest the plants well into December. They can take a frost, a snow fall and still will bounce right back.
Mustard Greens - these can be planted just like arugula. See instructions above.
Radishes - are a great addition to the late season garden. They can be planted right up to early September, and will maintain a high level of quality right up until it snows.
Lettuce - you can direct seed certain varieties of lettuce for fall harvest. Some do better than others in the cold. I like to plant Merveilles des Quatres Saisons and Tango for their beauty, taste, and cold hardiness.
Parsley - this herb can take very cold temperatures, so make sure, in mid-July or so that you have a nice patch of this going into fall and later summer. If this is an herb that you use frequently, it does not hurt to plant two or three different patches over the course of later April to mid - July. It is a slow grower, so after mid-July you can only plant it from transplants, not seed.
Managing Disease in the Garden: Powdery Mildew
Well, it's that time of year when we start getting lots of calls and questions about common garden diseases and pests. This post will be the first in a series focusing on how to manage these issues when they arise so that they don't get out of hand. It is wise to pay careful attention to your plants - sometimes small changes in their appearance can indicate a potential problem. The internet is a wonderful resource for solving your garden mysteries, but a good gardening book like Rodale's is indispensable for the serious gardener. If neither resource is available to you, don't hesitate to call us and we can help you troubleshoot! What is Powdery Mildew (PM)?
Powdery mildew is a white fungus that mainly affects plants in the squash family (cucumbers, melons, zucchinis, etc.) but can also affect other families as well. It first appears on the undersides of leaves as white dots, which expand until the whole leaf looks like it's been dusted with a white powder.

What causes PM?
Garden fungi are propagated by spores that fly on the air, which makes them difficult to prevent. The fungi are more likely to grow on plants with a lot of moisture in and on their leaves, and in humid conditions with too little air circulation. It is also carried from plant to plant by insect pests such as squash bugs, cucumber beetles, aphids, and flea beetles, so managing these pests helps reduce the prevalence of PM.
How do I prevent PM?
- Check for insect pests every few days. Squish the pests when you find them, and make sure to look for and destroy their eggs as well. A little vigilance goes a long way!
- Space plants further apart so that the sun can hit all parts of the plant, and air can move easily through.
- Only water in the morning, when plants will have plenty of time to dry during the day.
- Practice good crop rotation. Never put plants in the squash family in the same place as they were the year before.
How do I manage PM once I have it?
Powdery mildew does not usually kill a plant unless it is also suffering from pests. However, the two often go hand in hand, so it is wise to manage it when you see it. Here's what to do:
- Remove the worst-infected leaves with a pair of scissors or pruners. DO NOT put the infected leaves in your compost pile! Either burn them or put them in the trash. After pruning, wash your hands and tools with soapy water or a dilute bleach solution before touching other plants.
- Spraying with a sulfur- or copper-based fungicide once a week on the top and undersides of the leaves will eliminate most of the fungus. Follow this regimen up until 2 weeks before harvest. Alternatively, a mixture of 1 teaspoon of baking soda per quart of water can also be used. Try to spray only in the morning, when the leaves will have plenty of time to dry in the sun.
Allison on Seeds
Allison Lea, our incredible seeder, eagle-eyed pest finder, and all around special person wrote this beautiful piece on seeds. We love her writing, and hope you enjoy these thoughtful words.
I've had seeds on my mind lately. Not surprising, given the time of year, and the fact that I've been planting seeds for a living for the better part of a decade. It's easy to forget about seeds, during the long months of a Vermont winter. But then that first warm day comes, and with it the scent of damp earth, and suddenly I am visualizing thousands of seeds lying dormant in the ground, waiting and working. I consider myself lucky, because I get to experience an early spring in the greenhouses. While the outdoor seeds are still mired in mud, ice, snow and more unpleasant bits of thawing matter, I am opening crisp white packets and distributing their contents into the warm fluffy soil from Vermont Compost: onions, lettuce, kale, various greens, annual flowers, tomatoes, peppers. I love my job for its ability to provide me with an invaluable set of simple lessons for life. First: start small. Some of the seeds I plant are truly no bigger than a pinprick. Yet even the smallest one contains all the knowledge it needs to become a complete plant. Inevitably, I have moments when I feel as though I'm flailing around in my life, looking for answers outside myself, or feeling overwhelmed by the sheer volume of information literally right at my fingertips. And then I find myself standing at my seeding bench inside the greenhouse, holding a handful of seeds in my hand and realizing I have all the answers I need. I've always had them. Second: calm down a little and be still. While there are many seeds which travel for miles and miles on the wind or hitched to the back of some animal (mainly my dogs, it seems), all the seeds I've handled germinate best when they are left in peace. They're not going to be thrilled if I keep jostling the tray around, or picking them up, examining them for signs of life, and putting them back down. Likewise, when I allow myself to slow down and breathe a little, I start to get more of a grasp on the person I am becoming. Stillness is the key to sprouting, so when I feel myself flitting here and there, reluctant to make a commitment or put down roots, I go back to my seeds, peer at them thoughtfully, and then step back and let them be. Third: not all seeds are going to germinate. Some seed packets will say 60% germination rate. These seeds I sow a little thicker, in order to compensate. If all of them sprouted, I would have a very crowded plug tray, and unhappy plants. I have lots of great ideas, but they're not all going to come to fruition, so letting go of my attachments seems like a good plan. And finally (although the lessons continue indefinitely) cracking open is a good thing. I've seen thousands of little seedlings, and that first green shoot pushing up through the hull never ceases to delight and amaze me, whether it happens in the greenhouse, or out in the garden. So as I strive to make sense of a world which appears to be literally cracking apart under our collective feet, I will keep coming back to the modest little seed, looking for signs of something new and amazing coming through.
Bay Laurel in Vermont
If you ask me what my favorite plant is in my garden I would tell you about my bay laurel tree. Many folks are excited by the plants that add beauty to their surroundings. Personally I love the plants that I can use in the kitchen and my bay tree adds value year round. (The fact my favorite plant is a culinary herb would be no surprise if you follow my blog, Hippo Flambe). The difference between a leaf picked off my tree seconds before using it is far removed from the dry, dusty leaves in the spice section of your supermarket. Plus my bay laurel has the added benefit of being easy to care for. It was a rather inauspicious start to my bay laurel tree farming. I was given the tree by a friend who had decided to "euthanize" her tree. Her tree had developed a sticky residue on the leaves and she did not want to spend the time cleaning the leaves. In addition it had clearly outgrown its 23 inch pot and she had visions of it taking over her house. I immediately jumped at the chance to own my own bay laurel tree and told her not to kill it, I would adopt it instead. When I arrived at her house one day in the pouring rain I stared at the giant tree and I began to wonder how well this was going to work out. The first problem was how to get it in the back of my station wagon, even with the rear seats folded down it was far to big. So we went after the tree with clippers, ruthlessly cutting back every limb. In the end the tree had lost considerably more then 50% of its branches and I remembered the advice to never prune a tree back that far. I shrugged and figured what was the worst that could happen, even if it died the tree was free to me, I had nothing to lose.
That winter we kept the tree in an upstairs South facing window and miraculously it began growing new leaves almost right away. I did not give it any artificial light or fertilizer, we just opened the blind from 7 AM until it was dark. The room it was in only gets passive heat from the other rooms, so the room temperature is often as low as 59 degrees. The tree was severely pot bound as even in a 23 inch pot 1 qt of water would come rushing out the bottom almost immediately. Every week it put out tiny new shoots and leaves and I began to take more leaves to cook with. After using the leaves a few times I began to care more about my bay tree.
That spring we began to search for a larger pot. I was told at many locations that I could get a larger ceramic pot but not plastic. It had taken 2 of us to slowly inch the tree upstairs in a plastic pot, ceramic and its extra weight was clearly out. Finally one nursery suggested I try bonsai-ing the roots. She explained bonsai tress are removed from their pots and then pie shaped wedges are removed all the way around the root ball so more soil can be packed in and the tree can stay in a smaller pot. So I bought some high quality soil and we hacked out 4 pie shaped wedges all the way around the root ball. When I returned the tree to its pot I was amazed at how much water it could now hold. After a few weeks of new growth it was clear the plant was much happier.
Taking care of my Bay Laurel tree is remarkably simple, especially as I am often a house plant slayer. In the Fall, sometime in October, we bring the tree indoors. Once indoors we water sparingly about once a week, although I know there are stretches where we just forget. In the spring we take the tree back outside, where it does not need watering unless there is a really extended dry spell. If you prune it a little in the spring it will produce new growth. Use well drained, fertile soil. I just recently applied some of my favorite tomato fertilizer to the soil. The next time it becomes pot bound I will again bonsai the roots. The sticky residue that my friend found on the leaves is caused by scale insects. If this occurs just wash the leaves with an insecticidal soap and use your nail to scrape away any insect bodies on the leaves and stems. You can also spray with alcohol. The sticky residue is not usually deadly to your tree but it will inhibit new growth. Try to keep it in a humid area but do not over water. Humid in Vermont in the winter is hard, just keep it out of drafts and away from the heating vents, misting them occasionally with water if you want.
The great thing about growing a bay laurel is you only want the leaves, which are the easiest part of a plant to maintain. If I was starting over with a smaller tree I would not allow it to become as big as mine is, this would make it easier to bring it in and out of the house every year. When cooking with it remember the fresh leaves are much stronger and more flavorful then dried. When a recipe calls for 2 leaves I only ever use 1. If I just want a slight bay flavor I use a smaller leaf. One of my favorite uses for the leaves is to flavor a pot of red lentils. I just add one leaf to a pot of simmering red lentils with kosher salt and cook until the lentils are tender. To serve I simply drain the lentils, drizzle with flavorful extra virgin olive oil and sprinkle with freshly ground pepper.
Seed Inventory
It's a good idea, if you start your own seeds, to do a thorough cleaning out of the seed supply every year. Keeping old seed around will just lead to frustration. Here is a basic guideline for seed shelf-life:
- 1 year: onions, parsnips, parsley, salsify, scorzonera, and spinach;
- 2 years: corn, peas, beans, chives, okra, dandelion;
- 3 years: carrots, leeks, asparagus, turnips, rutabagas;
- 4 years: peppers, chard, pumpkins, squash, watermelons, basil, artichokes and cardoons;
- 5 years: most brassicas, beets, tomatoes, eggplant, cucumbers, muskmelons, celery, celeriac, lettuce, endive, chicory.
I am never too sure about what to do with old seeds. Sometimes I throw them around on bare patches of earth to see what will come up and other times I sadly throw them into the compost or trash. Most importantly, I try to be really careful to order only what I can use within the lifetime of the seed.
Tomato Varieties, Old and New
This past season was pretty hard on tomatoes. Lots of rain, cool temperatures, and very high disease pressure made for less than ideal conditions. At Red Wagon, we grow varieties that taste really good and that produce well. Sometimes those two things don't always go together, and flavor is sacrificed for high yields, or the other way around. Our tomato variety list has always favored flavor; in other words, we grow lots of open-pollinated, heirloom varieties that don't always produce high yields, but whose flavor is far superior to those hard lobes lurking on grocery store shelves. All of the 'heirloom' varieties you see in catalogs or in our plant displays have stopped being commercially produced by large farms, and while enjoying a renaissance among small, local and organic farms, their lack of shipability (too delicate) and irregular shapes and sizes will likely make sure they remain a stranger to the tractor trailer. For the sake of clarity, let me explain something about the language used to describe plant varieties. 'Heirloom' and 'hybrid' are not exactly parallel terms. Their is no botanical definition of an 'heirloom' - that is just a folksy way of saying a certain variety has been around a long time, it is open pollinated (more on that in a second) and there is often some sort of story associated with how the seed has been saved over many generations. The heirlooms often taste better--but not always--and sometimes the propaganda around an heirloom's attributes eclipses the reality. A hybrid variety is a plant that has been bred from two different tomato varieties. This gives it, in theory, hybrid vigor. For example, one parent is known for its resistance to pathogens but has the mouth-feel of a doorknob while the other parent is famous for flavor, but withers at the sight of a fungal spore. A hybrid variety is bred with a higher degree of human intervention, than an open pollinated variety. This simple plant breeding has been going on since the beginning of agriculture and is not to be confused with recombinant DNA breeding which is inter-specific (think fish genes in a tomato). Open-pollinated varieties are plants with the same exact parents and are bred with the simple aid of wind, insect, or plant mechanics--i.e. humans don't have to get involved other than to isolate the plants from other varieties, and to collect the seed etc. All 'heirloom' varieties are open-pollinated, but again, remember that 'heirloom' is not a scientific term, it's more of a literary term - think "plants with stories."
A while back, a New York Times editorial by chef and restauranteur, Dan Barber, confirmed what I had been thinking: that in order for our agriculture-and on a small scale, our back yard gardens-to thrive, we need to diversify. This past summer, those gardens that included a mix of heirloom tomatoes and hybridized tomatoes probably had better luck over all. I know that in my garden, that was true, but I was still a little surprised that the margin between the two was pretty slim. In spite of the harsh conditions, my tomatoes did pretty well. I gave them lots of mulch and lots of space between the plants and I regularly clipped off yellowing vegetation. Surprisingly, some of the hybrids died really early on (they are bred for resistance to certain pathogens, but not all), and some of the heirlooms clung on for dear life until our first (very early) frost. So the lesson I learned is that the best thing to do is to have a mix of varieties, and hope for the best. I would not suggest growing only one favorite heirloom; if there is room in your garden, grow a plant or two from each category - heirloom and hybrids of slicers, cherry, paste, early producers, late producers, etc. I know this is not practical for small spaces, but just a guideline to use in your garden planning.
We are adding some new tomatoes for the 2010 season, and so far, here is what I have come up with. Please feel free to leave me suggestions, that is our favorite way of trying something new.

Pink Beauty - a hybrid with firm, delicious fruit. Pink, medium-size, 6-8 oz. 74 days to maturity.

Fantastic - A customer request. A hybrid with 3 to 5 inch round, firm slicing fruit with good shape and crack resistance. Meaty, bright red and with exceptional flavor. Indeterminate. 85 days to maturity.

Goliath - a hybrid with smooth, bright red fruit that is huge - 10 to 15 ounces each. Sweet luscious flavor and blemish free exterior. High yielding and great disease resistance. 65 days to maturity (EARLY for such large fruit)

Rutgers - a hybrid with pinkish-red saladette (2-3" diameter) size fruit with outstanding flavor that is always a favorite in taste tests. The earliest tomato that keeps producing all season long. Cold tolerant. Determinate. 50 days

Orange Blossom -a hybrid determinate (means they don't get as tall as others and all of the fruit ripens at once) with medium-firm, globe-shaped fruits average 6-7 oz., have a nice texture, and are mildly flavored, balanced with a little acidity. 60 days to maturity

Black Cherry -A small and pretty cherry tomato with rich, sweet flavor. Nice in mixed tomato salads. Black tomatoes are really a deep mahogany and are known to have superior flavor. Open-pollinated. 64 days.

Paul Robeson - An heirloom. A well loved tomatoes on many people’s “favorites” list. Dark red fruit tinged with black, brown and purple flesh and skin. Rich flavor with hints of spice and red wine. Varies widely in size, but averages 10 to 12 ounces each. Does well in colder temperatures; seed is from Siberia. 74 days.

