Lori and Doug's Garden: Planting

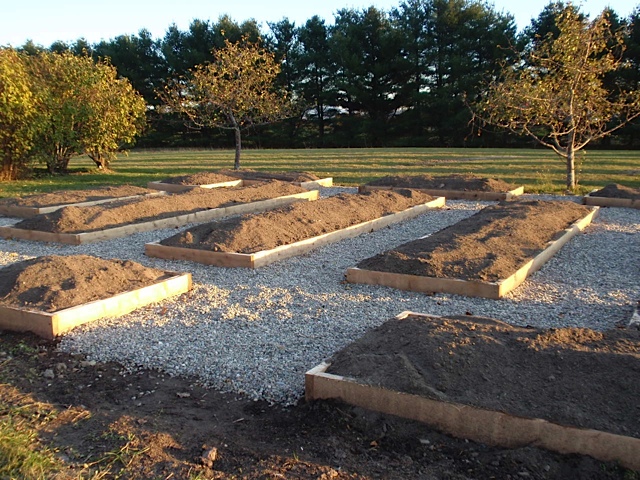
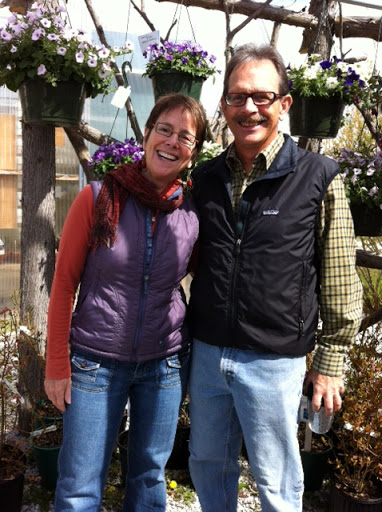
Meet Lori and Doug, two of our favorite long-time customers and friends. Our skillful and talented guy, Eric Denice,  built them some beautiful raised beds and they've been busy planting.  Check out what's sprouting in their garden. These photos are from a few weeks ago, and we are updating them as we find time....so stay tuned to see more of this great progress.

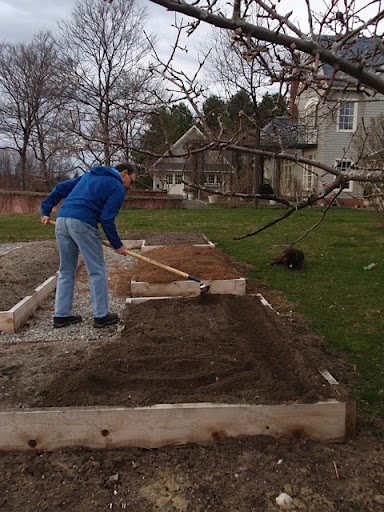
I think some incredible meals will be coming out of this garden and kitchen this summer. Keep checking in to see the changes!

Lori and Doug's Garden: Construction

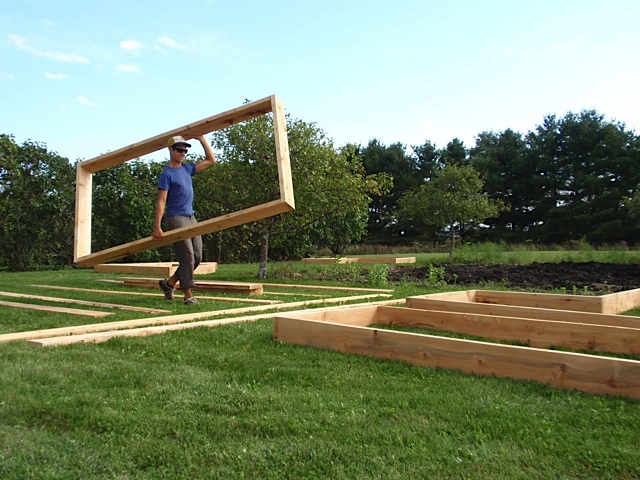
Meet Lori and Doug, two of our longtime customers and friends. Last year, they visited the greenhouses repeatedly, making large purchases of vegetable plants, it seemed every day. I finally asked them if they were starting a small farm, and they admitted that they were having some problems. Apparently, everything kept turning black and dying. This does not usually happen to our plants, so I offered to visit their garden, which happens to be on the way home, and they happen to have very nice wine to offer, so it seemed like a win-win. Lo and behold, their beautiful garden site was also the low lying spot where their entire property drains. The plants were sitting in standing water (remember all the rain last year?) and were drowning. I advised them to just start over, sad as that is, because there was just no way to grow in that site.

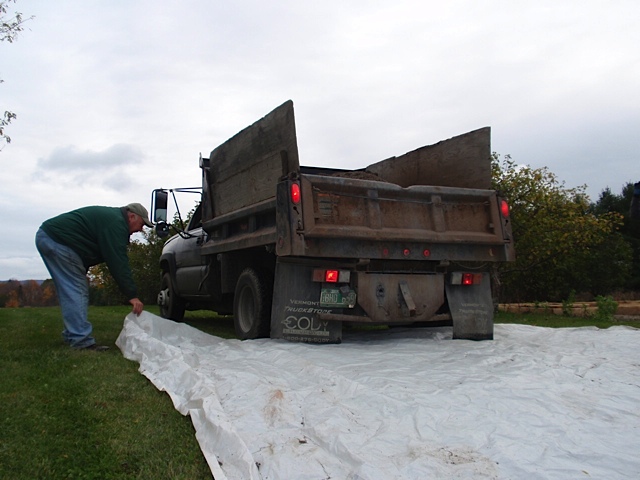
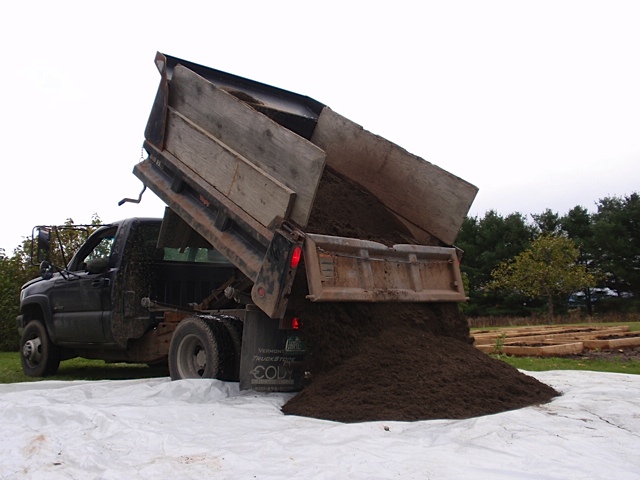
They asked us to help them build a big beautiful raised bed garden, so we set our expert carpenter and all around handyman, Eric Denice, to the task. Here's what they created together.

In the fall, Lori and Doug planted garlic, which is now growing beautifully, and each week, they come in to let us know what they are up to and we help them pick out plants that are appropriate for the weather. It has been such a fun project and we are grateful to Lori and Doug for including us!

Please keep checking back for updates as we chronicle the progress of this great garden and its people.

New North End Plant Sale

Come to the

3rd Annual New North End Plant Sale

at Bibens Ace Hardware

Ethan Allen Shopping Center, North Ave.

Burlington

IMG_0545
IMG_0545

Saturday, May 19th, 2012

9 am to 2 pm

The proceeds from this sale help scholarship applicants of the Burlington Area Community Gardens secure a garden plot for the season. Come and help out your neighborhood gardeners!

For more information, please call Dan Cahill at Burlington Parks and Recreation, 802-863-0420

The sale is a partnership of Red Wagon Plants, Bibens Ace Hardware, and Burlington Parks and Recreation

This Week in Photos 5.11.12

By Sophia

This mother's day is especially important to me, because for the first time in four years I actually get to be in the same time zone with my mom! We get to celebrate our birthdays and holidays together this year, to make dinner dates and plan our gardens and do all the things we missed so much, and I feel so grateful to have her back in Vermont. Sometimes, just like the Joni Mitchell song, we don't realize how important things (or people) are to us until we don't have them around. So here's to the time we get to spend with our moms, and the chance to say thanks for their boundless love and for being just amazing.

This year we're pulling out all the stops to spoil the moms in our world - with a new play area to entertain the kids, with gooseberries, currants, hazelnuts, and quince (plus all the traditional favorites), with rose bushes and strawberry baskets, herb planters and gift cards, three new greenhouses, and too many flowers and vegetables to name. It is truly a gift to work in a place so filled with beauty and life, and to see people enjoying it is the icing on the cake.

Happy Mother's Day!

Home orchard, here I come.

Last Saturday, we were lucky to have a visit from Charlie Nardozzi, garden educator, author, TV and radio personality, and garden coach. He provided us with two hours of entertaining and information packed advice on growing fruit at home - a project which can feel like a daunting commitment, but which he explained so clearly, that it felt like a task we must all embrace...right now. I have to admit, I have been living in the same house for 6 years and have yet to plant much in terms of fruit trees. I keep studying my property and imagining where the trees would go, but every year, another chance passes and my trepidation leaves me fruitless yet again. I have planted a few blueberry bushes and raspberries and currants far from the house, but no trees save for one orphaned plum tree a couple of years ago. Growing fruit trees always seemed like more work and maintenance than I have time for, but after learning some of Charlie's simple strategies, I feel armed and prepared. Here are a few of the general tips Charlie shared with us.....

  • Trees are grafted, unless you dig them up out of the woods. Which is not a good idea, since you would be getting something not bred for fruit production and possibly disease laden. Trees are grafted in order to provide strong root stock in combination with a "top" that is bred primarily for eating quality. In addition, apple trees are often grafted onto a "dwarfing" root stock which will keep the tree from towering above you, fruit out of reach.  When planting, look for what is called the "graft union" - it is a slight bulge at the base of the trunk where the root stock and the top meet. This union should be about 1" above the soil line once planted. If you plant it too deeply, you may trigger the root stock to take over the top growth and this would not provide you with the best eating fruit.
  • At planting time, use only the native soil in the planting hole. Dig the hole so that it is 2 to 3 times wider than the tree's container or root ball. Do not go deeper than the container or you risk planting the tree too deeply.  If you add compost to the planting hole, the roots will never have to reach out and search for food in the native soil and the tree's root system will never develop fully.
  • When purchasing a tree, look for even lateral branching (called "scaffolding").
  • The first two years of a fruit tree's life are the non-bearing years. It is important that the tree puts its energy into being strong and vigorous, not into making fruit. So, sadly enough, you must pick off the blossoms so that fruit does not form.  This difficult task will reward you with bigger and better fruit on a healthy tree in years to come. After Charlie's talk, I dutifully went home and stripped my plum tree of its recently formed flowers.
  • Spacing of trees is equal to their height. In other words, if a tree is going to be 15' tall, you need to plant it 15' from its closest neighbor.
  • Pitted fruits like plums, cherries, peaches, and apricots do not do as well on clay as apples and pears do.  If you are like me, and live in a clay pit, look for the best drained site and consider digging some trenches to direct the water away from the orchard.
  • Amend the soil by layering in compost and other nutrients on the soil surface (not right up against the trunk though) after planting. This should include compost, some additional nutrients based on soil test results, woodchips from hard woods (which promote beneficial fungal activity), and a little woodash (only about 1 cup per tree).  Vermont Compost Company's Perennial Blend is a perfect material for mulching around the base of the fruit trees. It includes compost, micro-nutrients, macro-nutrients (NPK), and an extra shot of bark, which is high in lignans and which promote the beneficial fungal activity trees love.
  • A north facing slope is the best spot for a home orchard - it heats up a little later in the spring and keeps the trees a dormant a little longer. This delays bud formation which lowers the risk of a frost zapping those early flowers.  A north facing slope also has good air circulation and frost tends to blow away before settling into a valley or dip.
  • Fruit trees are best planted in pairs, and their planting partner should be a different variety or cultivar. This diversity leads to better pollination which equals more fruit formation.  For example, a Liberty apple, should be planted near a Honeycrisp, or a  Parker pear should be planted with a Summercrisp pear.

I think I will try a few cherry trees and  pears  this year. I have a spot picked out, on the north facing slope outside our kitchen window. And maybe once those are in, I will start to imagine some blueberries and raspberries nearby....closer to the house than the ones I planted when we first moved here.  One thing I am glad about....my years of procrastination with the back yard means that I have a blank slate and the home orchard can be very close to the house; it will be landscape and larder, all in one.


This Week in Photos 4.23.12

It always feels like there is a huge buildup to opening our retail area, and it's so satisfying to see it finally being enjoyed again. Our amazing staff has been working so hard and has gotten us off to a great start! There are lots of new additions to retail this year - there are three new greenhouses open to the public, Eric is creating a cozy new area complete with benches, a sand pile for kids and raised demonstration beds, and we have lots of new trees and shrubs for turning your yard into paradise. The first step to creating a cozy outdoor space is to enclose it. Our quick and skillful jack-of-all-trades, Eric, is building us a simple and beautiful fence to make the space more comfortable.

What to plant now?

Given that our spring has been pretty mild over all, many gardeners are eager to get in the garden and plant a little earlier than normal. While the temptation is huge, it is also a good idea to remember that a hard frost can still come anytime in the next month or so and the ground is not all that warm. So what can go in the ground now? Lots of cold hardy vegetables and herbs are ready to go including onions, broccoli, cabbages, kales, mustards, boc choi, and more. It is best to harden off the plants for a few days before transplanting them - this means letting them get used to the cold, the wind, and the direct sunlight. Most of our plants will come to you already hardened off, but other nurseries may not take care to do that, so it is best to do it yourself. You can also use some row cover to create a small micro-climate for the young plants. We use hoops made out of 9-gauge wire to hold up the fabric off of the plants. This will give the plants a breathable, water permeable house to grow under during their initial weeks in the garden. The growth rate will be about double the rate of plants grown without row cover.

You can read more about hardening off  here.

Another great thing to plant now are crops you direct seed and that can germinate in cold conditions - spinach, carrots, beets, turnips, radishes, scallions, peas, and fava beans.

If you have a spot in your garden that you are not going to use this year, you might want to consider spreading some cover crop seed. this will help ensure that the soil is fed during it's fallow period. The cover crop is essentially plants that are grown just for the soil's on going health. For cold weather sowing, you might want to try a cow pea and vetch mixture or oats or an annual clover .  This will smother out weeds and add lots of organic matter to your garden.

FAQ #25: How do I create a beautiful and functional garden fence?

From Lily: Gardening has been a constant in my life for as long as I can remember. And with one constant seems to come another… Garden Critters.

We all have our stories. The deer strolled though and ate the tops off all the baby beets. The woodchucks chomped cabbage heads in half. The neighbor’s horse got loose and stampeded the entire garden. Rascally raccoons destroyed the corn crop in the night. The squirrels had family feast in the blueberry bushes. Robins pulled out every bean sprout as they emerged from the earth.  I’m all for sharing the harvest, but come on. This past spring was the last straw. I watched my own dog eat the asparagus shoots right out of the ground!

It was time to build a fence.

To install my own fence seemed like an unappealing and daunting project. I was intimidated. I like freedom, ease, and of course beauty in the veggie garden. Alas, I had to make moves. Precious asparagus was being robbed. There was no time to waste. Honestly, the dog was the main motivator. My biggest worry was that my quickie fence would be an eyesore. The final product has turned out to be nothing of the sort.

My garden comrades and I made construction choices with installation time, simplicity, and expense in mind. We decided on very basic materials that were easy to procure. Cedar posts for the corners and the entrance; installed with a borrowed posthole digger. Wooden grade stakes as the perimeter; one every 5-ish feet, pounded in with a mallet. Coated wire fencing with small holes at the bottom to keep out little critters and large holes at the top which is eye pleasing. We paid a little extra for this but I’m glad because the design is truly easy on the eyes (visually I’m not a fan of chicken wire). A staple gun came in handy to attach the fencing to the grade stakes. Lastly, a very simple wooden frame was constructed with the fencing material as the gate.

The fence has given the garden a sense of place and boundaries. It is no longer just a plot plowed out of the lawn. There is now a container to hold all the ideas, inspirations, and plans for the garden. In only a few hours we transformed the space! This year I hope to incorporate the fence more into the planting scheme of the garden by creating a narrow bed along the edge. The fence is a built in trellis. Why not plant annual climbing flowers! My favorites of course: Sweet peas, Cobaea, and Painted Lady Runner Beans.

I’ve also been dreaming up a project to build a solid gate. A gate that is structurally sound and provides an identity to the garden. Entrances hold an opportunity to set a scene, create a mood, transition from one thing to another. They are the first impressions of a space. When you pass through a gate or doorway you have the chance to leave behind what you don’t need: a chance to step into the present.

Here's some inspiration for gates and fences…

This Week in Photos: 3.27.12

The rollercoaster ride of spring at Red Wagon is in progress! We had a glorious day potting up perennials last week outside in the sun.  Fortunately the plants are oblivious to the chilly weather this week, putting up lots of new leaves and enjoying the cozy conditions in our greenhouses. And you can too! Come to our open house this Sunday, April 1st from 9am to noon and soak up some sun, pick up some adorable plants for your table or windowsill, check out the calves next door and talk to our great staff about your gardening goals! Check out the photos below to see what we've been up to...

FAQ #9: What is sheet mulching and how do I do it?

Sheet mulching is a technique for creating a garden bed that does not require tilling or hand weeding. It is intended to mimic the natural mulching process that occurs on the forest floor. It is also suitable for converting a section of lawn into a garden without breaking the sod. There are a lot of different methods but here is the simplest one:

  1. Trample or cut down any large woody weeds.
  2. Put down a layer of compost to jump-start the composting process.
  3. Create a thick weed-barrier of newspaper, cardboard, or other biodegradable materials over the area you want to convert, wetting with a hose as you go.
  4. Cover the weed-barrier with weed-free compost or composted manure at least 3 inches thick.
  5. The top layer mimics the materials that fall to forest floor - nut shells, twigs, fern fronds, coffee grounds, wood chips, etc. are all good materials. Create a layer 3-5 inches thick and water in.

Plants can be transplanted directly into this bed and should be closely spaced to minimize the germination of weeds. Note: this method is not recommended for areas that are prone to flooding or waterlogging. Graphic courtesy of agroforestry.net

Open House

Sunday, April 1, 2012 9 am to noon

Red Wagon Plants Open House

We welcome you to visit our greenhouses on Sunday, April 1st, from 9 am to noon.

We will have coffee, tea, and snacks for you as you peek around the greenhouses and see what it looks like when we are in full swing. Feel free to bring children, see the calves next door, and come armed with garden stories and questions!

We will have some plants for sale as well as Johnny's Selected Seeds. Come by for cold hardy flowers, herbs and veggies. Bagged compost will be available for feeding your garden beds and, best of all, our staff will be on hand to meet you and talk shop!

We look forward to seeing you,

-Julie and the Crew

FAQ #23: How do I have fresh lettuce all summer long? How do you keep it from being bitter?

  The trick to having fresh lettuce all summer is to choose your varieties and timing well. You will need to have a succession of different varieties planted every week or so throughout the summer to ensure a constant supply. Start with cold tolerant varieties in the spring, then plant heat- and drought-tolerant ones in the summer, and plants with good holding ability and heat tolerance in late summer and early fall. Plants turn bitter when they are starting to bolt (go to seed) and are exposed to too much heat, so choosing your variety and timing well also avoids bitterness. Here’s an example planting:

  • May: 'Tango', 'Merveille des Quatres Saisons'
  • June: 'Dark Red Lollo Rosa', 'Sylvesta', 'Red Saladbowl', ‘Cherokee’
  • July: 'Reine des Glaces', 'Two Star', 'Red Sails', ‘Romaine Parris Island Cos’
  • August: 'Reine des Glaces', 'Two Star', 'Red Sails', ‘Mottistone’, ‘Nevada’
  • September: 'Tango', 'Merveille des Quatres Saisons'

FAQ #22: Which herbs are perennial and which are annual?

Perennials: Angelica, Catnip, Chives and Garlic Chives, French Sorrel, Germander, Anise Hyssop, ‘Munstead’, 'Grosso', 'Provence'  Lavender, Lemon Balm,  Lovage, Mint, Oregano, Rue, Sage, Winter Savory, Sweet Woodruff, French Tarragon, Thyme, Valerian Annuals: Artemisia (self seeds), Basil, Chamomile (self seeds), Chervil (self seeds),  Cilantro, Dill, Fennel, Feverfew (self seeds), Lemongrass, Marjoram, Papalo, Parsley, Red Shiso, Rosemary, Summer Savory

Some herbs can be kept as houseplants over the winter. Some that do well are rosemary, thyme, sage, basil, and parsley. It is always nice to have a few pots of these in the kitchen to snip into bowls of soup, salads, scrambled eggs and roasted vegetables and meats. You can dig them up out of the garden in the fall or just grow them in pots all summer that you then bring into the house once the temperature drops.

FAQ #21: How can I keep arugula, cilantro, lettuce, and dill from bolting?

The first step to preventing bolting is to understand what causes it. Bolting, or going to seed, is a natural part of the plant's life cycle. Some plants have longer life cycles than others. Arugula, lettuce, cilantro and dill all have relatively short life cycles, so they will try to produce seed within 8 to 10 weeks of being planted. It is an inevitable part of the plant life cycle but can be postponed with good management. It can also be caused by shock during transplanting, by too much or too little water, and around the solstice when the days start getting shorter. Transplant shock can be minimized by careful hardening off and transplanting in late afternoon when the plants will not be exposed to intense midday heat. Water carefully and time your plantings so that a fresh generation is coming along before the previous generation goes to seed. Here is a helpful schedule to help you maximize the harvest:

Cilantro - plant every 3 weeks from late April to mid August. These are very cold tolerant and can be grown early and late to extend the season. If you are very eager to have cilantro for salsa, then make sure to plant some in early July so that it is ready to eat at the same time as your tomatoes are ripe. The flowers of cilantro are edible and are a lovely addition to salads and salsas.

Dill - like cilantro, is very cold tolerant and can be grown early and late in the season. This self seeds willingly, so you can always allow a patch to flower and drop its seeds giving you a perpetual patch. The flowers of dill are tasty in pickles and marinades.

Lettuce - lettuce can be grown at the baby leaf stage or the full head stage.  Please refer to our lettuce post to learn more about the timing of lettuce. It should be planted every week or two if you eat lots of salads and want fresh, non-bitter leaves on your plate. It can be planted from seeds or from plants. If you prefer the texture and flavor of full heads of lettuce, then transplant individual plants every 10" - about 4 to 8 transplants a week is plenty. If you prefer cut lettuce leaves, then use seeds, and sprinkle them in a row, about 2 or 3 seeds per inch. Cut lettuce leaves can grow back and provide you with a second harvest, but the quality goes down each time and the bitterness increases. It is best to replant a fresh row of seeds every couple of weeks.

Arugula - like lettuce, it can be grown from transplants or from seeds. It is best to plant it regularly as it does not grow back very well. Its flowers are edible, and can be a nice peppery additions to salads, sauces, and grilled fish.

FAQ #20: Which plants make good houseplants?

Red Wagon grows a number of plants that make good houseplants. The characteristics to look for are a tolerance of shade, a preference for hot conditions (such as tropical plants), and plants that are annuals (do not require cold winters). Some great choices are:

  • Colocasias (Elephant ear)
  • Banana plant
  • Sensitive plant (mimosa pudica)
  • Tuberous begonias
  • Geraniums (nice with dichondra)
  • Dracaena
  • Fuschia
  • Sempervivum (Hens and Chicks)
  • Ivy
  • Juncus
  • Boston Fern and other "annual' ferns
  • Oxalis
  • Scented Geraniums
  • Jade

FAQ #20: Do I have enough sunlight for this plant?

First you need to determine if you have full sun, partial sun, or full shade in the area you are considering. The best way to do this is to spend a day (with a clear sky) at home and note which areas come into sun and when, and when they are in shade again. Do this in spring when you have a realistic amount of sunlight, not in summer when the day is longest.

Full sun means at least 6, but preferably 8 hours of direct sun each day. Sun loving plants can usually survive with less but will not bloom as much.

Part sun and part shade plants prefer 3-6 hours of direct sunlight per day; however part sun plants can usually take more heat than part shade plants, which will want relief from strong afternoon sun.

Full shade means zero to 3 hours of direct sunlight. These plants do NOT want total darkness but rather filtered, or indirect light, such as that provided by a deciduous forest.

FAQ #19: How can I manage powdery mildew?

From Sophia: Powdery mildew is a white powder-like fungus that particularly grows on cucurbits such as cucumbers and squash, French tarragon, bee balm, and other plants under adverse conditions. Powdery mildew does not generally kill the plants but will reduce their productivity and vigor. You can help prevent the disease by giving plants plenty of air circulation, only watering in the morning when the plants have time to dry, not planting cucurbits in the same place two years in a row, and destroying insect pests when you find them.

Once you have powdery mildew, you can manage it by removing the worst affected leaves with pruners. DO NOT put the leaves in your compost pile! Either burn them or throw them in the trash. Wash hands and tools with soapy water or dilute bleach solution after handling affected foliage and before touching other plants. Plants can be sprayed with a copper- or sulphur-based organic fungicide, or with a mixture of 1 teaspoon baking soda to 1 quart of water, once per week on the upper and undersides of the leaves until 2 weeks before harvest. This should eliminate the disease.

FAQ #18: How do I make compost?

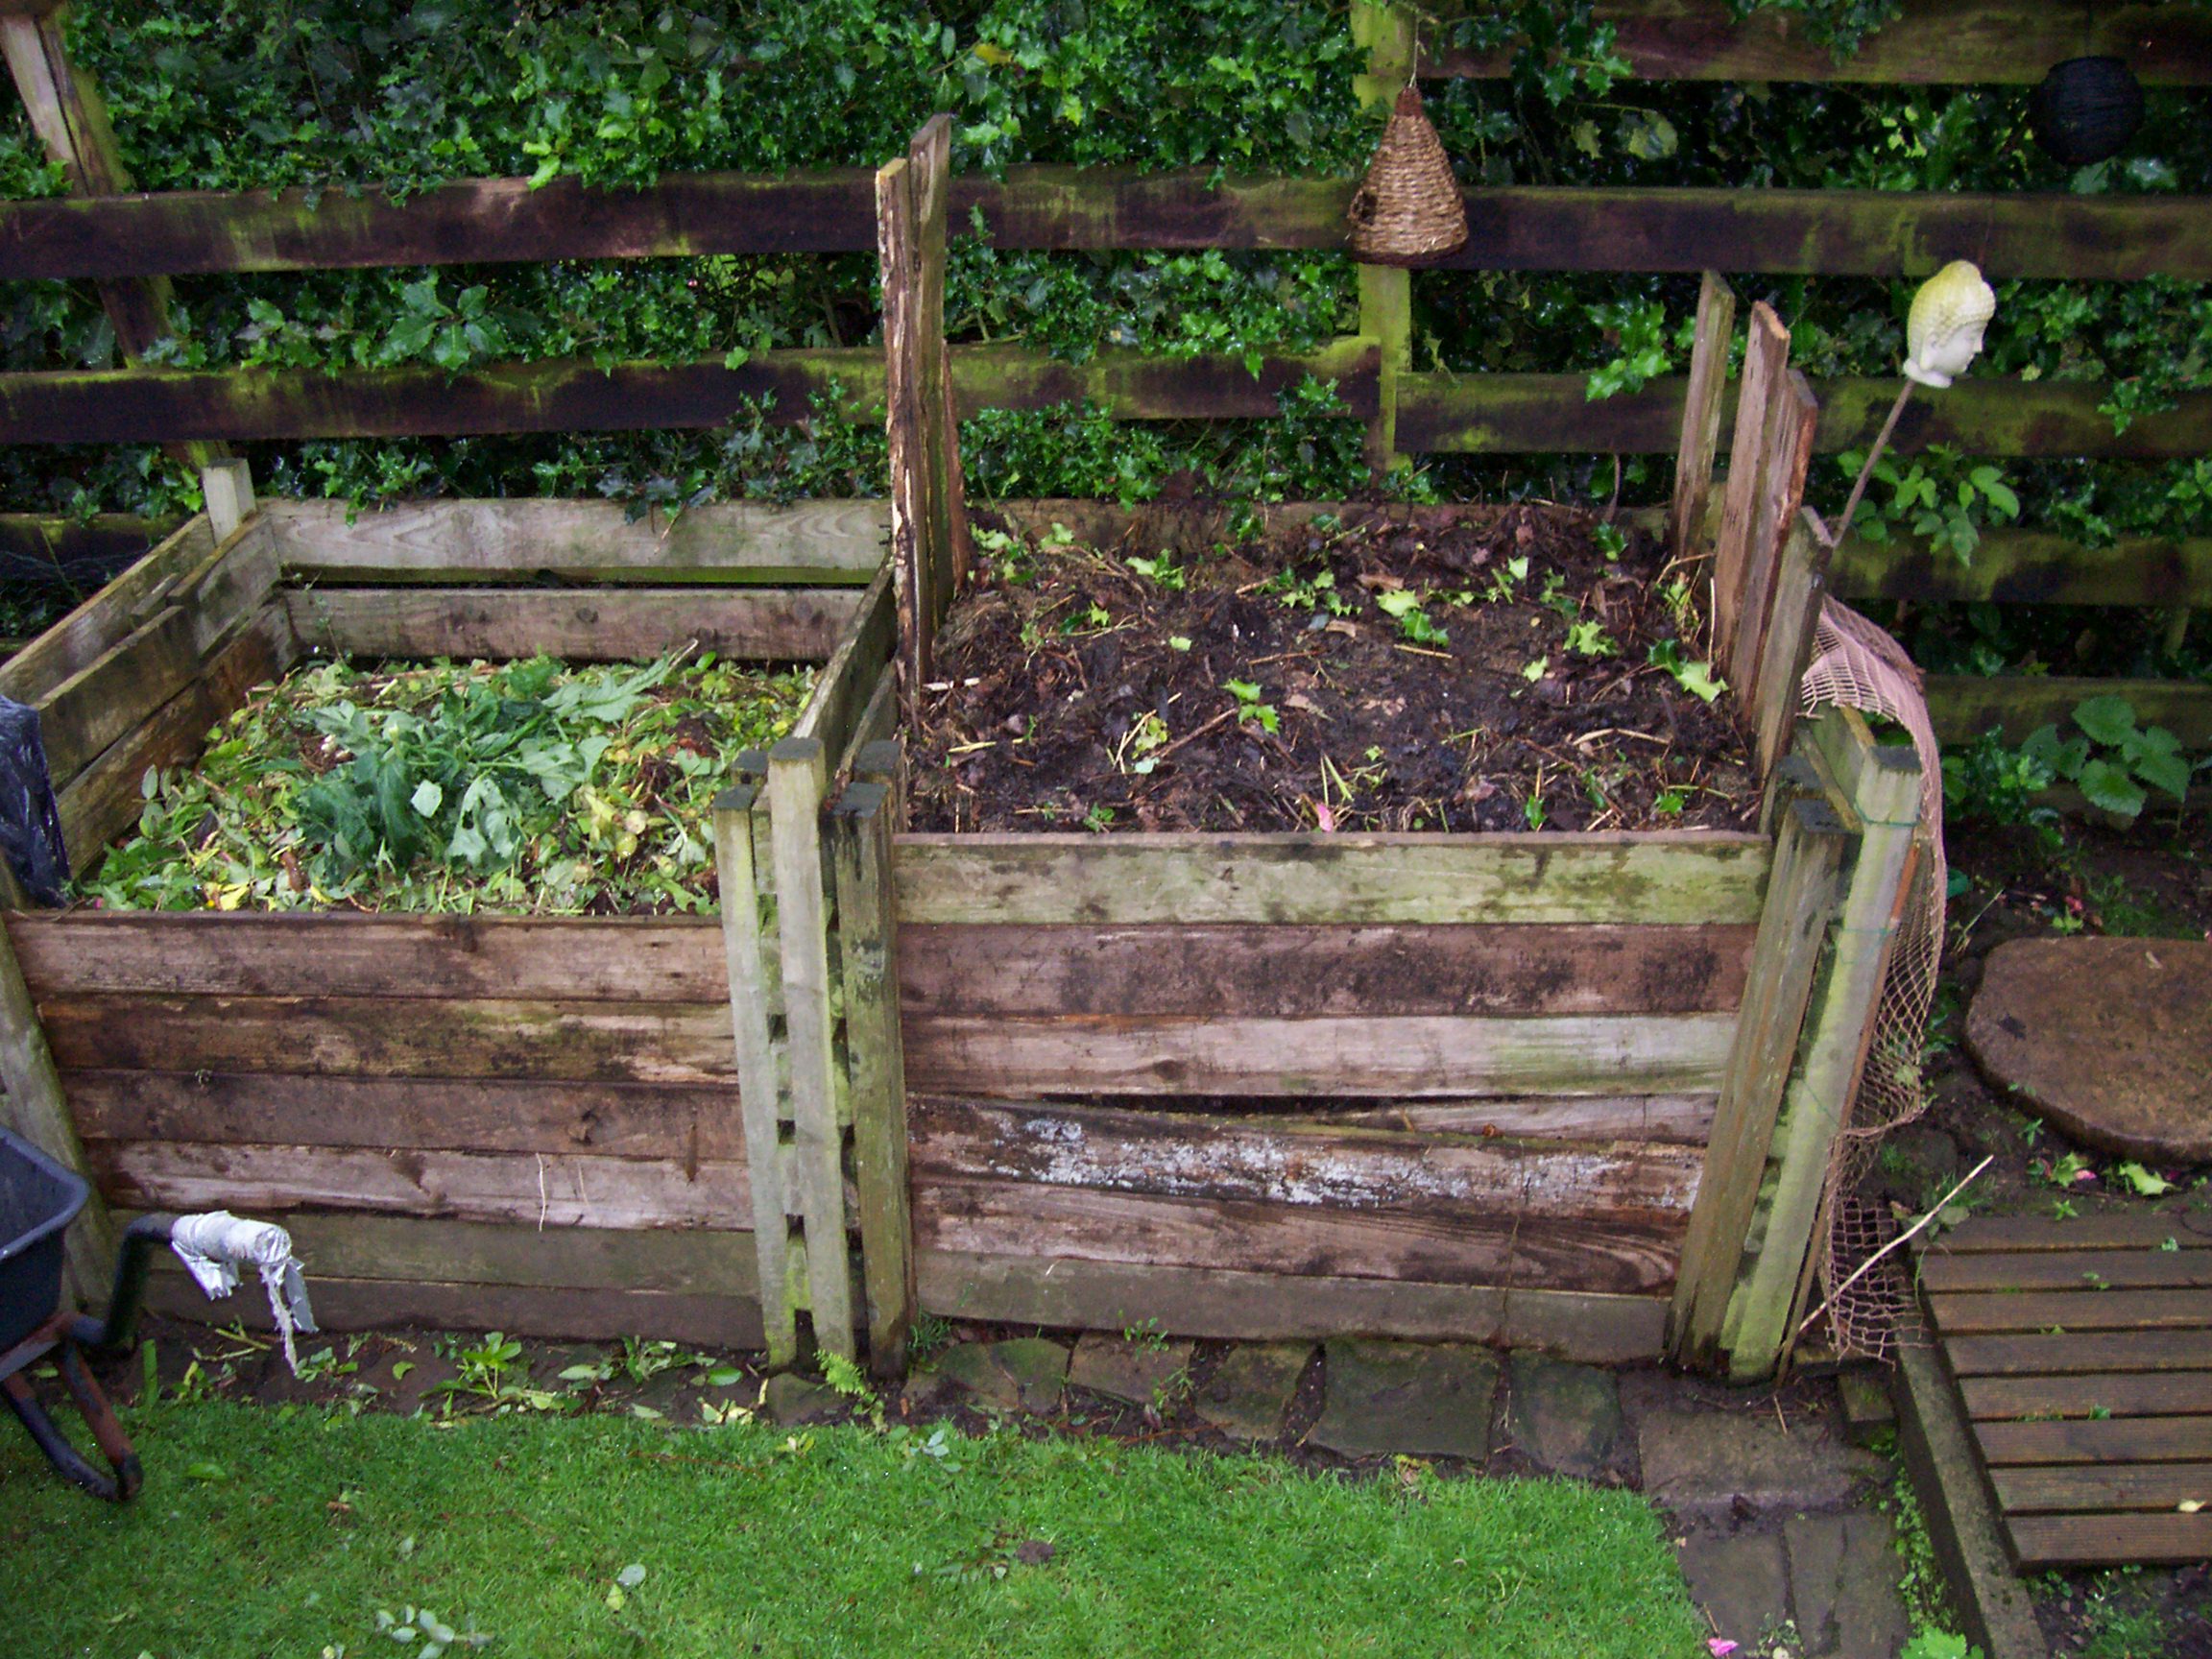
Make some kind of container about 3’ in diameter, such as a length of chicken wire or 4 pallets hitched together to make a square.  Put a layer of sticks on the bottom, just thrown in to allow air to flow into the pile.  Add a variety of plant material, in layers if you can, but it’s not really necessary.  You need some brown material, such as leaves, and some green material, like freshly pulled weeds, grass clippings or kitchen scraps.  Top with a few handfuls of manure, if you have it, or half-done compost.  This isn’t necessary, but speeds up the process.  Sprinkle with water so the pile feels like a damp sponge.  Don’t soak it, it needs air.   The pile should heat up.  When it stops, turn it.  A compost aerator makes turning the pile an easy matter, so I do it more often, but you can also use a shovel or garden fork. Having two compost piles makes it easier to use the finished compost, since one can be allowed to finish while you’re adding to the other. Use the finished compost on your garden.  Even if it’s not be finely screened compost, it will finish decomposing in the soil.